6.3.Refund ↑ Back to Top
If a front-end user returns the product or order directly to the merchant without the involvement of wish.com, then the merchant has to send a request on wish.com for completing this type of return.
To complete this type of return the merchant has to create a new refund.
Admin can also view the refund details and export it on the local system.
To create a new refund
- Go to the Magento Admin panel.
- On the top navigation bar, point to the Wish menu.
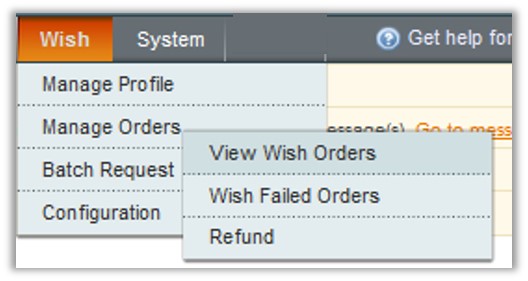
The menu appears as shown in the following figure:

- Point to the Manage Orders menu, and then click Refund.
The Refund Management page appears as shown in the following figure:

- Click the Create New Refund button.

- Under Refund Information, in the Enter Wish Order Id box, enter a value.
- Click the Fetch Order Info button.
The page appears as shown in the following figure:

- In the Reason list, select the reason.
Note: If the required reason does not appear in the list, then select Other. The Comments field appears. - Enter the required reason.
- Click the Submit Refund button.
The refund is submitted and listed in the Table displayed on the Refund Management page.
To view the Refund details
- Go to the Magento Admin panel.
- On the top navigation bar, point to the Wish menu.
The menu appears as shown in the following figure:

- Point to the Manage Orders menu, and then click Refund.
The Refund Management page appears as shown in the following figure:

- Scroll down to the required refund.
- In the Action column, click the View Details link.
The page appears as shown in the following figure:

All the refund details are displayed.
To export the Refund Details through CSV file
- Go to the Magento Admin panel.
- On the top navigation bar, point to the Wish menu.
The menu appears as shown in the following figure:

- Point to the Manage Orders menu, and then click Refund.
The Refund Management page appears as shown in the following figure:

- Click the Export button.
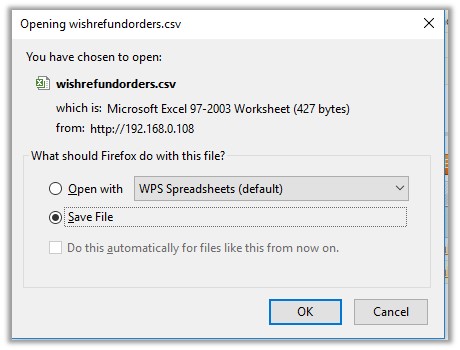
A dialog box appears to open or save the exported file as shown in the following figure.

- Click to select the Open With or Save File as per the requirement.
- Click the OK button.
×


