
Wayfair Configuration Settings
Once the installation has been done, you may proceed with the configuration.
To perform configuration settings:
- Go to your Magento admin panel.
- Place cursor on Wayfair on the top navigation bar and the section expands as:
- When the menu appears, click on Configuration.

- On clicking it, you will be navigated to the configuration page that appears as:
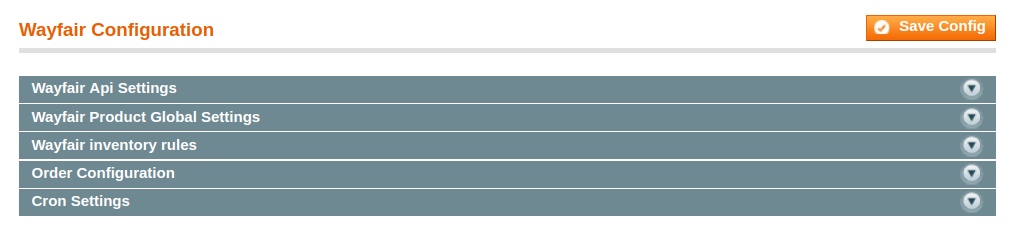
Wayfair API Settings
- Click on Wayfair API Settings and the section will expand as:

- In Enabled, select Yes.
- In doing so, the section will expand as:
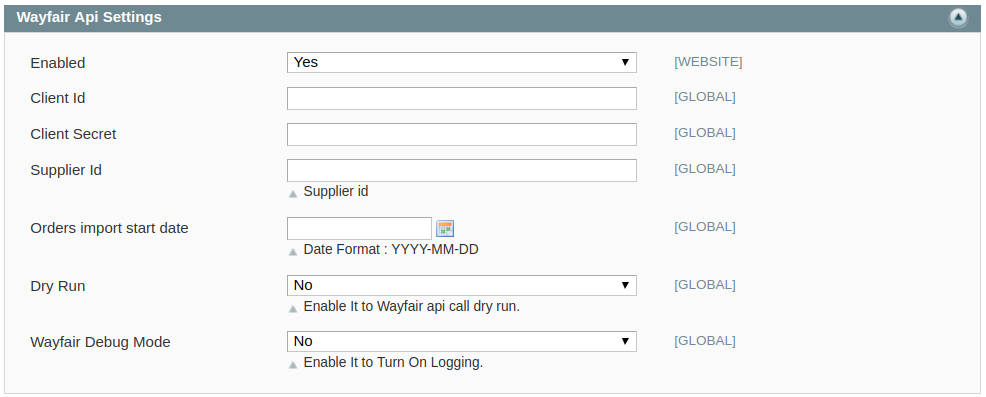
- In Client ID, enter the consumer id that you may get from your Wayfair seller panel.
- The Client Secret key that you can get from your Wayfair seller panel needs to be filled in the Client Secret field.
- Enter the Supplier Id in the next field. In case you don’t have a supplier id, our developers will provide you with it.
- In Order Import Start Date, select the date from which you want the Wayfair orders to be imported to Magento, till date.
- In the Dry Run, select either Yes or No. By selecting Yes the sandbox mode gets activated and all the changes made will not get reflected on to the Wayfair store.
- In , select Yes if you want to enable Wayfair debug mode for logging.
Wayfair Inventory Rules
- On clicking Wayfair Inventory rules, the section will expand as:

- On selecting Yes in Set Inventory on the Basis of Threshold, the section will expand as:
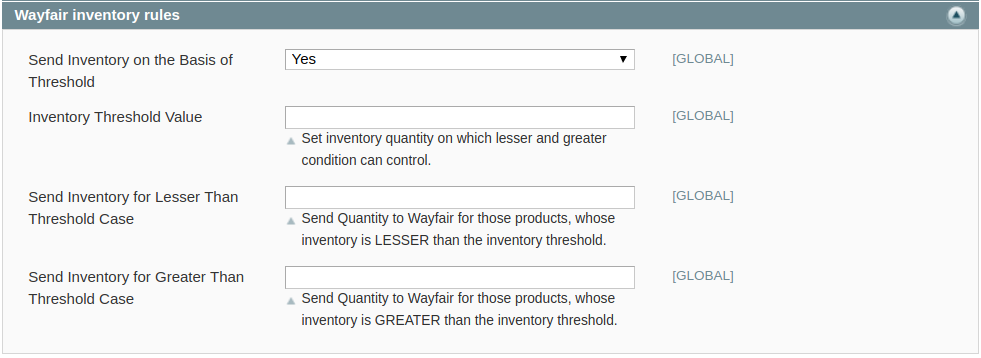
- In Inventory Threshold Value, set inventory quantity on the basis of which, the lesser and greater condition can control.
- In the Send Inventory for Lesser Than Threshold Case box, enter the required value that appears on Wayfair when the inventory is lesser than the threshold value.
- In the Send Inventory for Greater Than Threshold Case box, enter the required value of products that appear on Wayfair when the inventory is greater than the threshold value.
Wayfair Order Settings:
- Click the Order Settings now and appears as below:
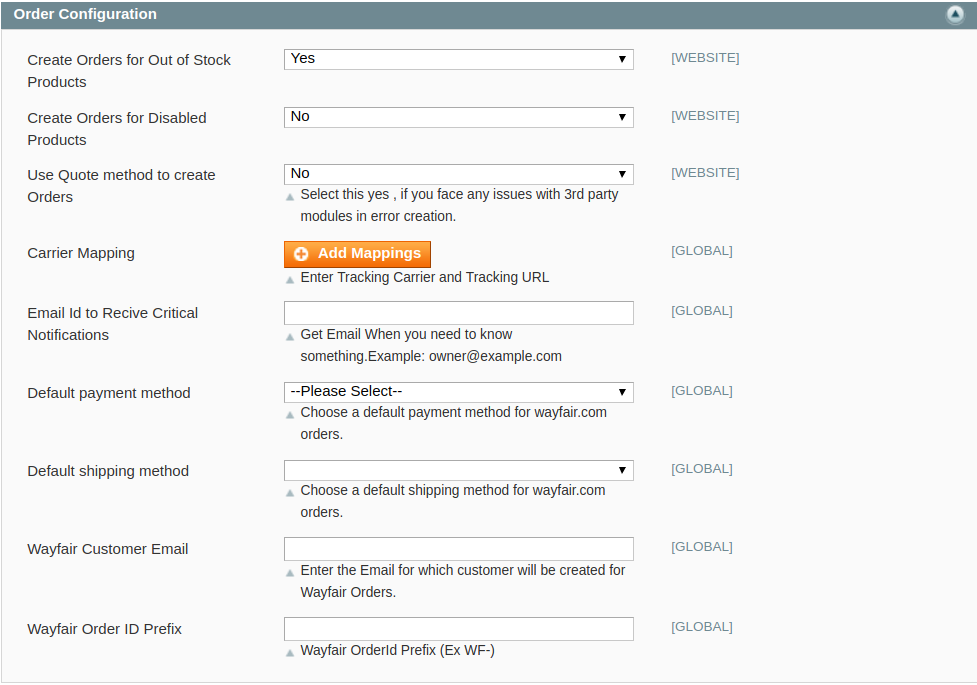
- In Create Orders for Out of Stock Products, select Yes if you wish to accept orders even though they are out of stock products.
- In Create Orders for Disabled Products, select Yes if you wish to accept orders even though they have been disabled.
- If you are facing any issue in receiving orders from 3rd party then, select Yes from Use Quote method to create Orders.
- Next is the Carrier Mapping option where you need to click on Add Mappings Button:

- To receive an email notification on any major happenings from your Wayfair store, click Yes in the Email Id to Receive Critical Notifications.
- In the Default payment method Select the desired default payment method for your store.
- In the Default Shipping Method, choose a default shipping method for Wayfair orders.
- Enter the Email for which customer will be created for Wayfair Orders in the Wayfair Customer Email section.
- Enter the Wayfair Order ID Prefix, this makes it easier for you to recognize the orders recieved from the Wayfair store.
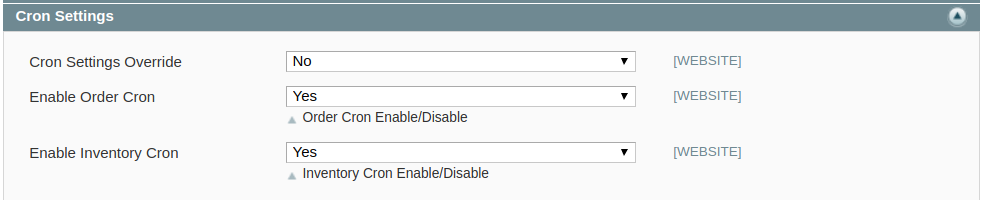
Wayfair Cron Settings
- On clicking Cron Settings, the section will expand as:
- On selecting Yes in Cron Settings Override, the section expands as:
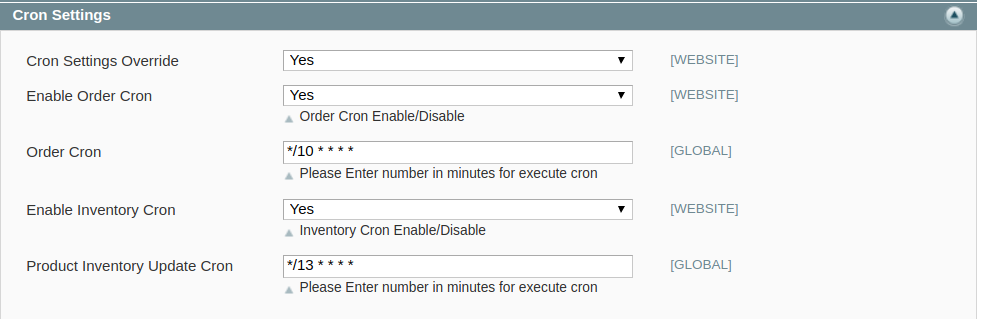
- In Enable Order Cron, you may select Yes and enable it.
- In Order Cron, enter the number in minutes after which the order cron will run periodically.
- In Enable Inventory Cron, you may select Yes and enable it.
- In Product Inventory Update Cron, enter the number in minutes after which the product inventory update cron will run periodically.
Once you have completed the process, click on Save Config button on the top right side of the page to save the configuration settings. The configuration will be saved.
×


