
Configuration
Once the installation of MercadoLibre Integration for Magento Extension has been done, the next important step is to complete the configuration which works as the foundation for the integration process.
To complete the configuration,
- Go to your Magento admin panel.
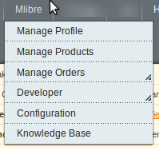
- On the top navigation bar, place the cursor on Mlibre.
- When the menu appears, click Configuration.
- On clicking it, you will be navigated to the configuration page which appears as:

Mlibre Settings
- Click on Mlibre Settings and the section will expand as:
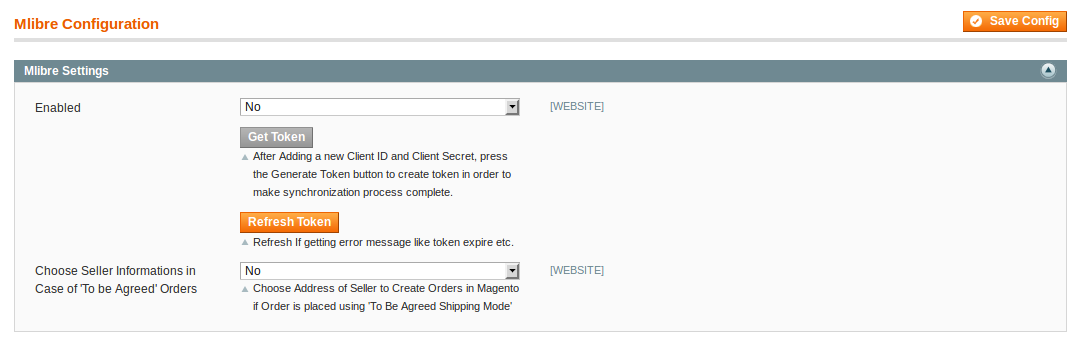
- In Enabled, select Yes to enable the extension.
- On selecting Yes, the section expands as:
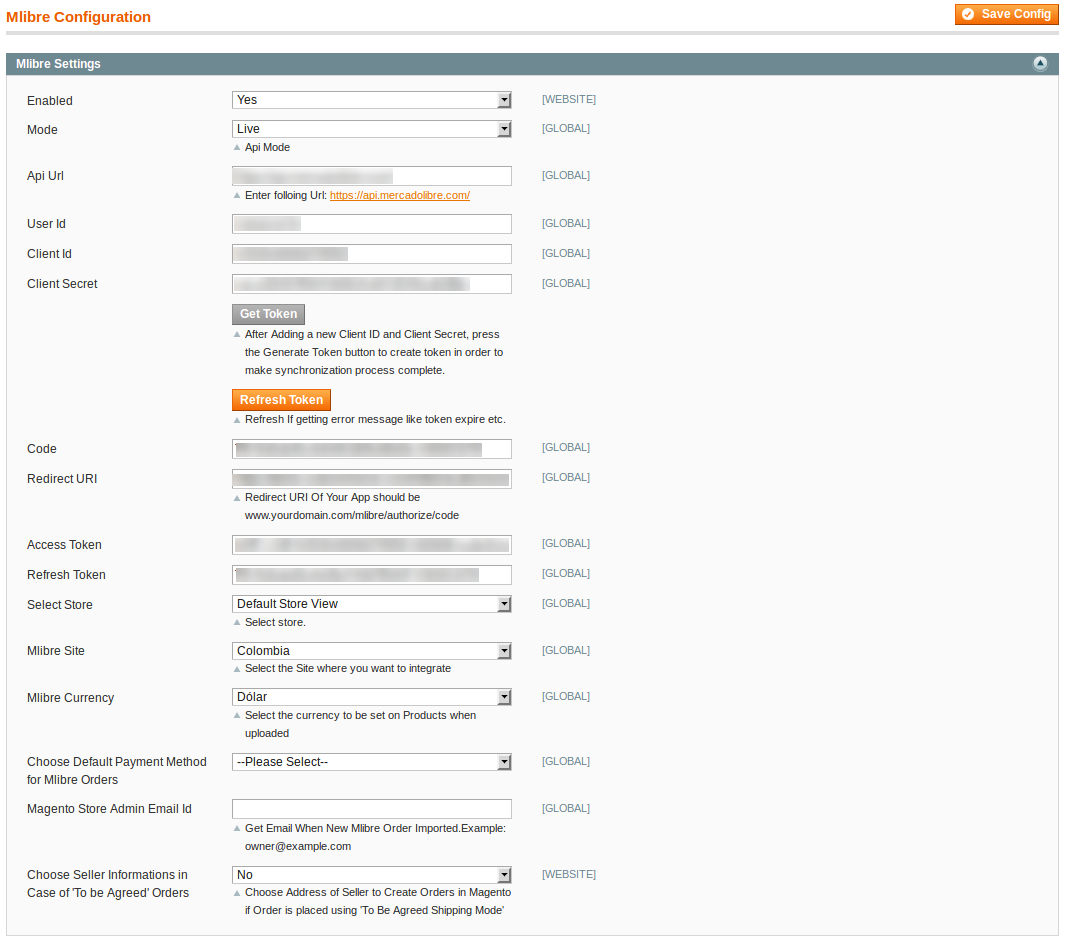
Now,
- In Mode, select the mode.
- In API URL, enter https://api.mercadolibre.com/
- The User Id gets filled automatically but for that you need to fill the Client Id and Client Secret.
- Fill your client ID in the Client Id field, which you may get from your MercadoLibre seller panel once you have created the app there.
- Fill your client secret in the Client Secret field, which you may get from your MercadoLibre seller panel once you have created the app there.
- Once done, click on the Save Config Button.
- Now click on the Get Token button which is next to the Client Secret field.
- On clicking Get Token button, the User Id, Code(which is the next field), Access Token and Refresh Token get automatically filled.
- The Code field, as mentioned earlier gets filled automatically when you click Get Token button.
- In Redirect URL field, enter www.yourdomain.com/mlibre/authorize/code where you need to add your store domain in the place of ‘your domain’ in the URL.
- The Access Token field, as mentioned earlier gets filled automatically when you click Get Token button.
- The Refresh Token field, as mentioned earlier gets filled automatically when you click Get Token button.
- In Select Store, select your Magento store which you are integrating with MercadoLibre marketplace.
- In Mlibre Site, select the MercadoLibre site with which you want to integrate your store.
- In Mlibre Currency, select the currency to be set on products when you upload them.
- In Choose Default Payment Method for Mlibre Orders, select the payment method for the orders which will be placed for your products on Magento.
- In , enter the email address on which you want to get email whenever a new MercadoLibre order is imported on Magento.
- In Choose Seller Informations in Case of ‘To be Agreed’ Orders, if you select yes, you may choose the address of the seller to create orders in Magento if order is placed using ‘To Be Agreed Shipping Mode’.
Mlibre Product Price Settings

- In Mlibre Product Price, you may select the price option as they are shown in the image below, to be sent for your products on MercadoLibre.
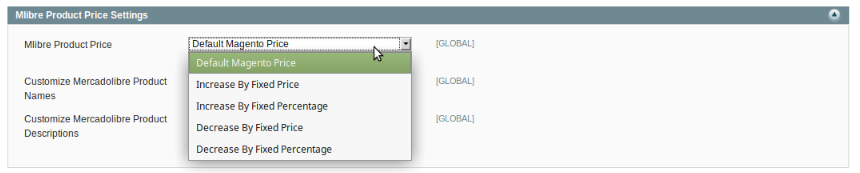
- Default Magento Price: If this option is selected, the price for which your product will be available on MercadoLibre will be same as the price of your product on Magento store.
- Increase By Fixed Price: You may select this option if you want your product price to be increased on MercadoLibre as compared to you Magento store. If you select this option, a box appears as shown below:
![]()
- By choosing this option, you may enter in the Enter Amount box the amount by which you want your product price to be increased on MercadoLibre as compared to your Magento store. Suppose if you enter 50 in this field and your product is for 100 on your Magento store, then the amount that your product will be available for on MercadoLibre would be 150 (as the amount entered is 50 for Increase by fixed amount, so the price entered would be added to the price for which product is available on Magento store).
- Increase By Fixed Percentage: You may use this option if you want the price of your Magento product to be increased on MercadoLibre by a certain percentage. By choosing this option, you may enter in the Enter Amount box the percentage amount by which you want your product price to be increased on MercadoLibre as compared to your Magento store. Suppose if you enter 20 in this field and your product is for 100 on your Magento store, then the amount that your product will be available for on MercadoLibre would be 120 (as 20% of 100 is 20 which gets added to 100).
- Decrease By Fixed Price- You may use this option if you want the price of your Magento product to be decreased on MercadoLibre. By choosing this option, you may enter in the Enter Amount box the amount by which you want your product price to be decreased on MercadoLibre as compared to your Magento store. Suppose if you enter 50 in this field and your product is for 100 on your Magento store, then the amount that your product will be available for on MercadoLibre would be 50 (as the amount entered is 50 for Decrease by fixed amount, so the price entered would be subtracted from the price for which the product is available on Magento store).
- Decrease By Fixed Percentage- You may use this option if you want the price of your Magento product to be decreased on MercadoLibre by a certain percent. By choosing this option, you may enter in the Enter Amount box the percentage amount by which you want your product price to be decreased on MercadoLibre as compared to your Magento store. Suppose if you enter 20 in this field and your product is for 100 on your Magento store, then the amount that your product will be available for on MercadoLibre would be 80 (as 20% of 100 is 20 which gets subtracted from 100).
- Customize MercadoLibre Product Names field is for sellers to customize their product names. If Yes is selected in this field, the field expands as:
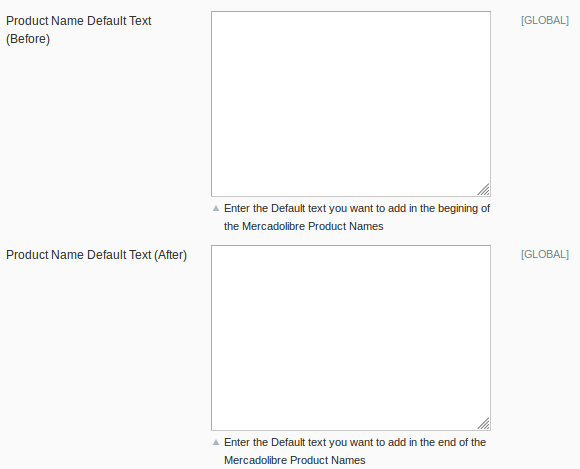
- In the Product Name Default Text (Before), you can add the default text that would be added and appear at the beginning of your MercadoLibre product names.
- In the Product Name Default Text (After), you can add the default text that would be added and appear at the end of your MercadoLibre product names.
- The Customize MercadoLibre Product Descriptions field is for sellers to customize their product descriptions. If Yes is selected in this field, the field expands as:
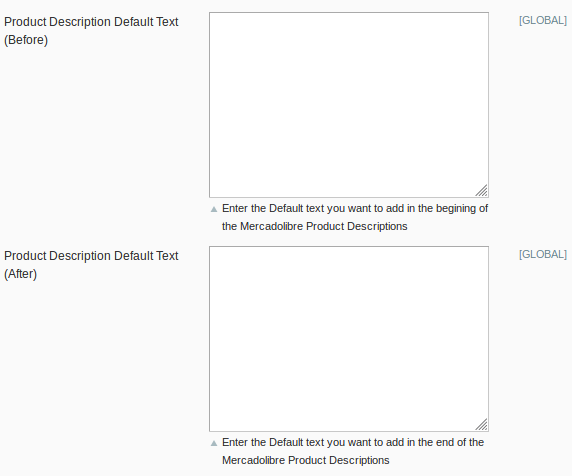
- In the Product Description Default Text (Before), you can add the default text that would be added and appear at the beginning of your MercadoLibre product description.
- In the Product Description Default Text (After), you can add the default text that would be added and appear at the end of your MercadoLibre product description.
Order Settings

- In Fetch Mlibre Orders From field, select the point of time from which you want the orders to be fetched, till date. for your products on MercadoLibre.
- In Fetch Mlibre Orders of Status, select the status which if a MercadoLibre order has, it will be fetched from MercadoLibre to Magento. It means that if you select a particular status in this field, then all the orders on MercadoLibre with that status will be fetched to Magento.
- In Fetch Mlibre Orders of Shipping Status, select the shipping status which if a MercadoLibre order has, it will be fetched from MercadoLibre to Magento. It means that if you select a particular shipping status in this field, then all the orders on MercadoLibre with that shipping status will be fetched to Magento.
- In Cancel Order on Mlibre On Order Cancel in Magento, you may select Yes if you want an order to be canceled on MercadoLibre if it is canceled on Magento. If you select No, then no such actions will be taken.
- In Create Credit Memo On Order Cancel At MercadoLibre, if you select Yes, then a credit memo for refund gets created if an order gets canceled at MercadoLibre. If you select No, then the credit memo doesn’t get created.
Developer Settings

- In Debug Mode, you may select Yes if you want the log to be created.
- In Product Chunk Size, select the number of products to be sent to MercadoLibre in one batch.
Cron Settings

- In Cron Settings Override, you may select Yes, you will be able to make changes in the Cron Settings and the section will expand as shown above.
- In Enable Order Cron, you may enable the order cron by selecting Yes. On selecting Yes, a field will appears as:

- In Order Cron, you can enter the cron expression to execute the order cron. You may enter it for minutes, hours, or seconds.
- In Enable Inventory Cron, you may enable the Inventory cron by selecting Yes. On selecting Yes, a field will appears as:

- In Inventory Sync Cron, you can enter the cron expression to execute the inventory sync cron. You may enter it for minutes, hours, or seconds.
Now, when you have taken all these actions, you need to click on Save Config button and the configuration process will be completed.
×


