
Adding New Etsy Profile
To make it easy or you to categorize your products of one attributes automatically under one umbrella category, the profile management is a must and addition of such new profiles is done as follows.
-
Open your Magento Admin Panel and point the cursor on the top navigation bar of Etsy, and you will see the Manage Etsy Profiles menu which you need to click on.
-
The next page that appears to you is one with the Etsy Profile Listing heading and appears as shown in the following figure:

-
Now click on the Add New Profile button and the next section you’ll be navigated to would be this:

-
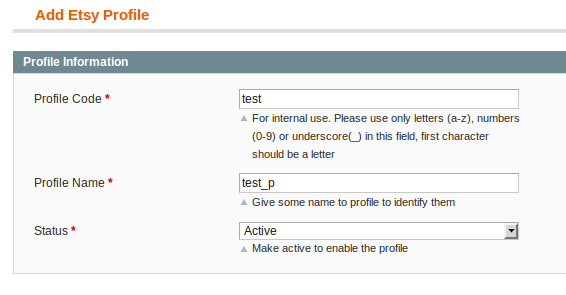
Starting fom the Profile Information in the right section, you need to take the following steps, as shown below:
-
Enter a profile code in the Profile Code box
Note: It is only for the internal use. Use the unique profile code with no spaces. Start with small letters. -
In the Profile Name box, enter the name of the profile.
Note: Use the unique name to identify the profile. -
Post this, you need to choose Active status in the status box.
Note: The Inactive option disables the profile. -
Now click the Save and Continue button.
-
In the left navigation panel, click the Profile Configurations menu.
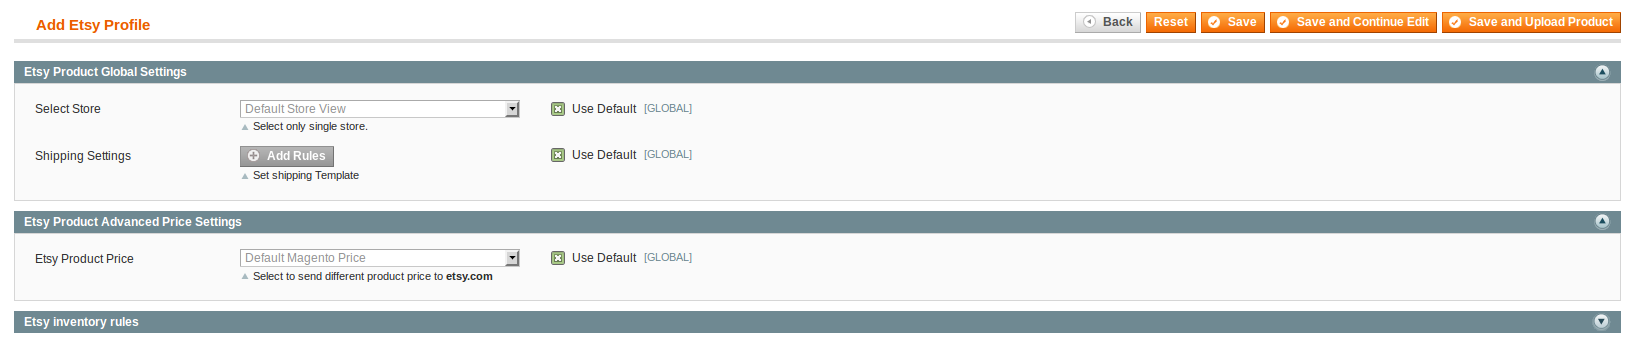
The page appears as shown in the following figure:
-
Here, you may select the store that you wish to integrate with the Etsy, from the select store tab.
-
To configure the shipping settings, click the Add Rules button.
The field gets expanded and appears as shown in the figure below:

- In the enabled list, select Yes.
- Select the required region from the Region list, shipping method from the Method list, and the corresponding attribute code from the Magento Attribute Code list.
Note: Click the Add Rules button to add more shipping settings. To delete the rule, click the Delete button similarly.
- The next section is Etsy Product Advanced Price Setting which looks like the figure below:

-
This section is to set a different price for all the products.
-
In the first section, there are multiple options, namely, Increase by Fixed Price, Increase by Fixed Percentage, Decrease by Fixed Price, and Decrease by Fixed Percentage. Wondering what do they result in? Read on below.
-
Increase by Fixed Price: If selected, then the Enter Amount field appears and you may enter a price that would be added to the price of your product on the Etsy store. How? Lets say, if your product price is 100 on Magento and you enter an amount of 100 by selecting the Increase by Fixed Price option, your product would be sold on Etsy with an additional 100 of amount.
-
Increase by Fixed Percentage: If selected, then the Enter Percentage field appears.
You may enter the percentage value to increase the price of the Etsy product price by the entered value of % of Magento price.
For Example, Magento price + 5% of Magento price.
Magento Price = 100
Select Increase By Fixed Percentage option
Enter Percentage = 5
100 + 5% of 100 = 100 + 5 = 105
Thus, Etsy Product Price = 105 -
Decrease by Fixed Price: If selected, then the Enter Amount field appears and it works as explained in the Increase by Fixed Price section, but by reducing the product price as compared to Magento on Etsy, by the entered amount.
-
Decrease by Fixed Percentage: On selecting, the Enter Percentage field appears.
Enter the numeric value to decrease the price of the Etsy product price by the entered value % of Magento price
For Example, Magento price – 5% of Magento price.
Magento Price = 100
Select Decrease By Fixed Percentage option
Enter Percentage = 5
100 – 5% of 100 = 100 – 5 = 95
As a result, Etsy Product Price = 95.
- On completing all th details on this page, you need to save the settings by clicking on the Save button.
-
Now from the left panel on the same page, click on the Etsy Category Mapping and you will see what you can right here in the figure below:
-
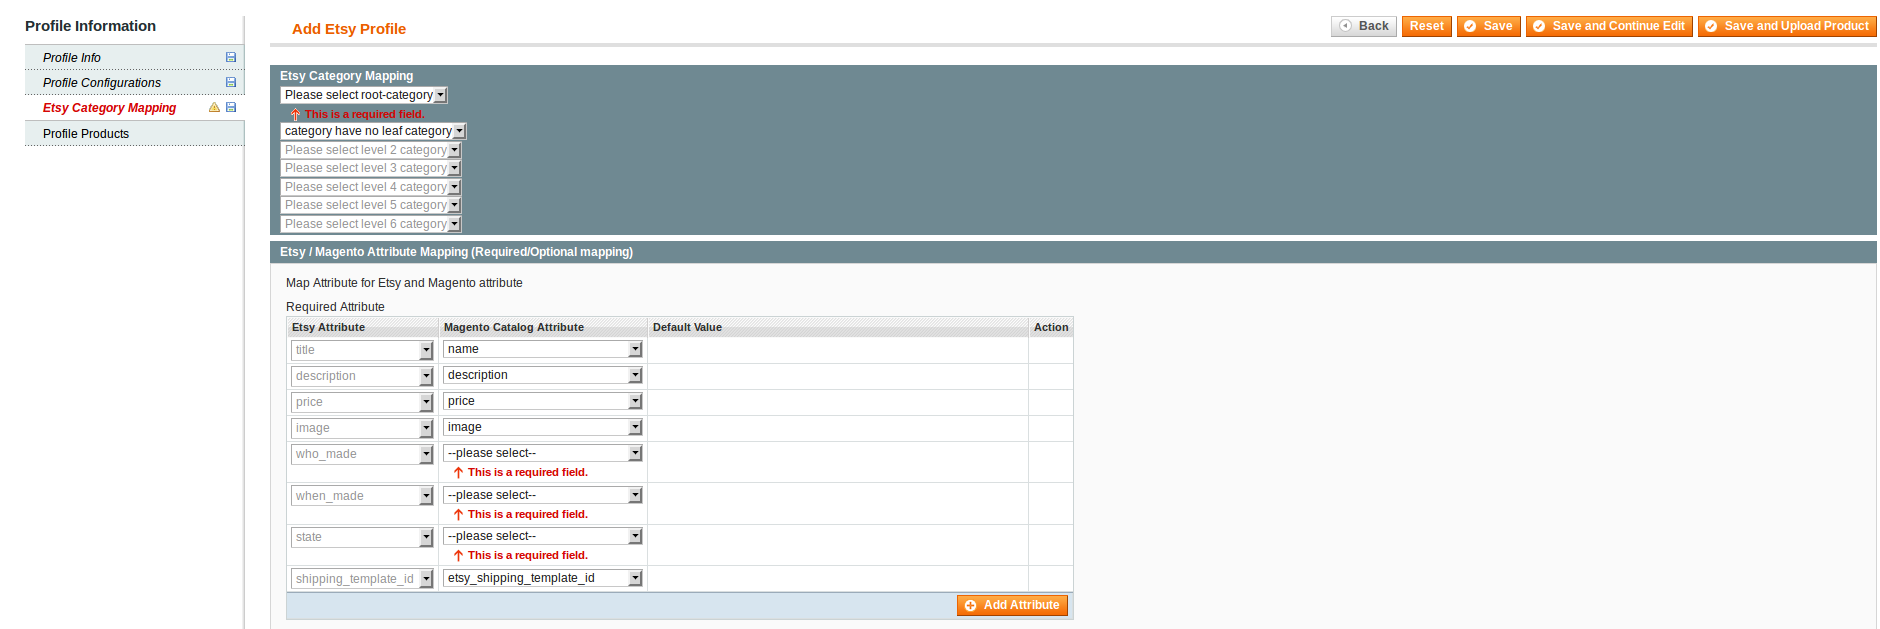
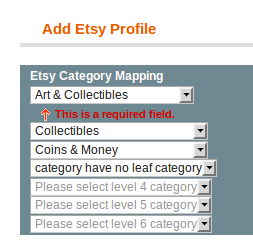
This is the place where you will be doing the category mapping for Etsy as shown in the figure below. You may do the mapping of the category and go till seven levels of sub-categories to define your product more specifically.
-
Once done, you need to go to the next part i.e. Etsy/Magento Attribute Mapping to describe the attributes of your product under a particular category. You may add Name, Description, Price, and Image for the product that you will be uploading.
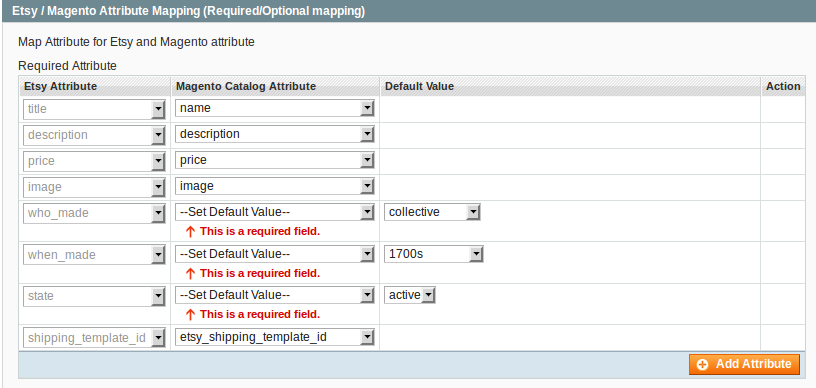
In the sections Who Made, When Made, and Status, you may select the ‘Set Default Value’ and will be provided to describe the respective description of your product. An example of it can be seen above.
Adjacent to State, in the drop down box, if you select Active then at a later stage, while uploading the product, the page appears to you as below figure:

Now if you click on INVALID written in red color, as shown in the figure above, you will see the below message box appearing on page:
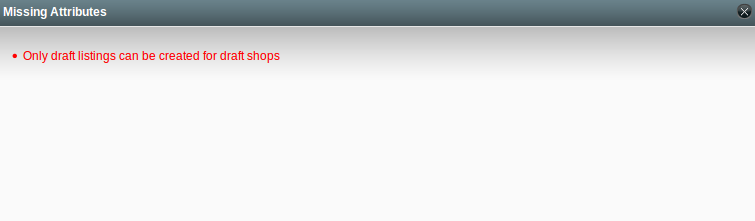
So select the Draft status and then move forward in the process.
Here, you need to save every action you have taken so far in this section by clicking on the Save button on the right top of the page.
On the same page in the left side, the last section that we still are not done with will be the Profile Products. Upon clicking it, what you come across has been shown below:

-
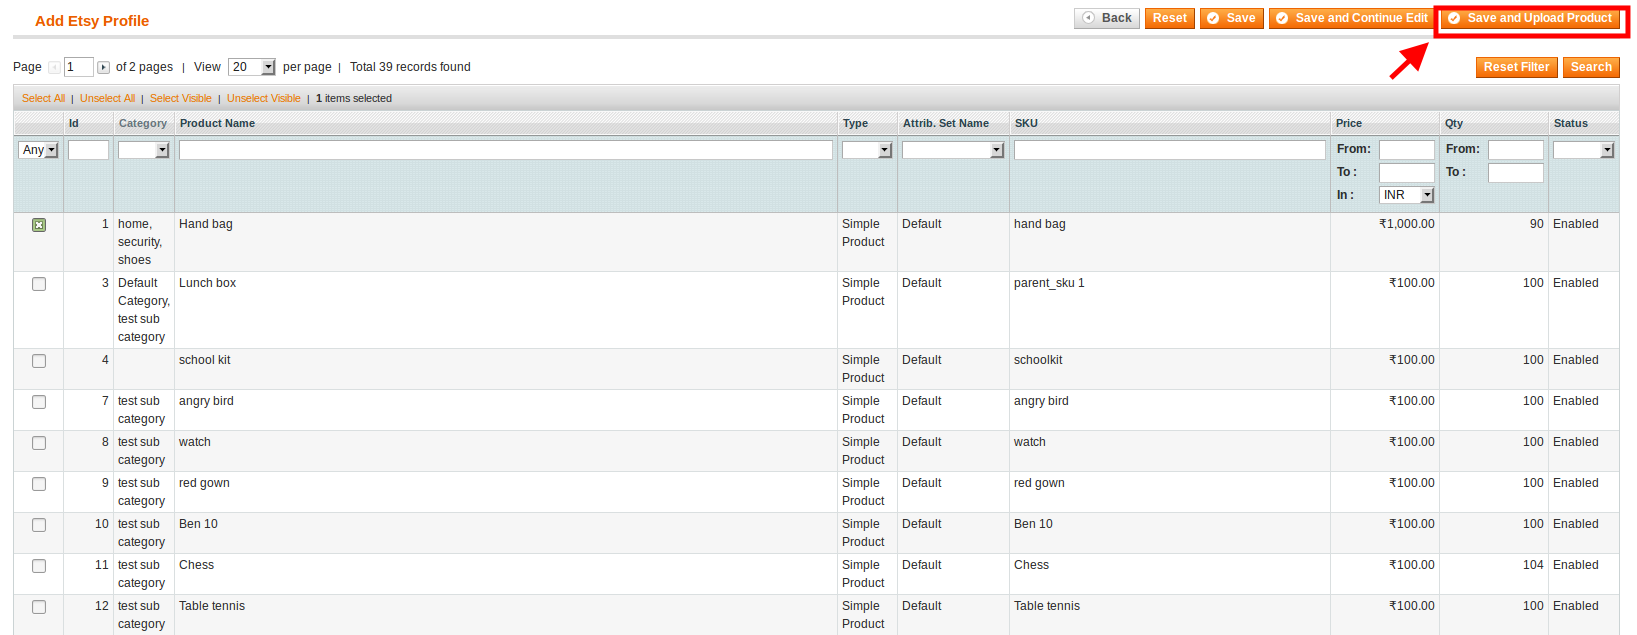
Here, you need to click on the Reset Filter button. On doing so, you are provided with all the categories that you can select from, for the product that you wish to upload on Etsy, as shown below:

-
Next, you just need to click the Save and Upload Product button and the product that you want to upload will be featured on the page as below:
-
On the same page, you may select the product and you have three options for it before uploading it finally, namely, Validate Selected Product(s), Validate & Upload Product(s), and Delete Selected Listings.
-
While the first option validates your product to be uploaded later, whenever you want, the second option enables you to validate and upload the product on Etsy instantly. The third option however works when you already have a product listed on Etsy and you want it to be deleted from there.
-
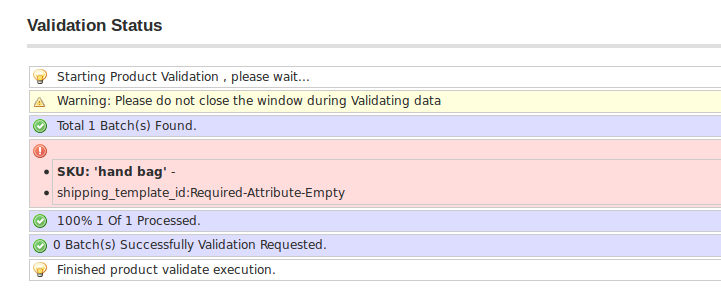
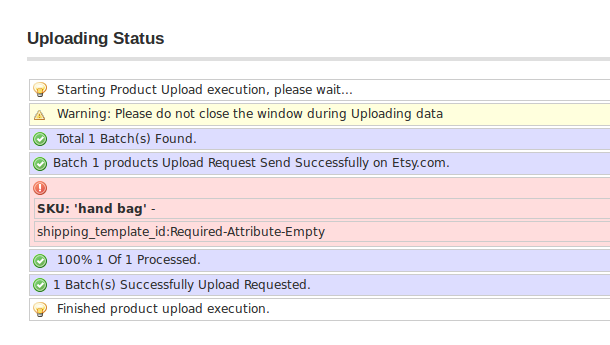
So when you select the Validate Selected Product(s) and there is any error such as the required attribute is empty in the shipping template, you will be navigated to the page as shown here:
-
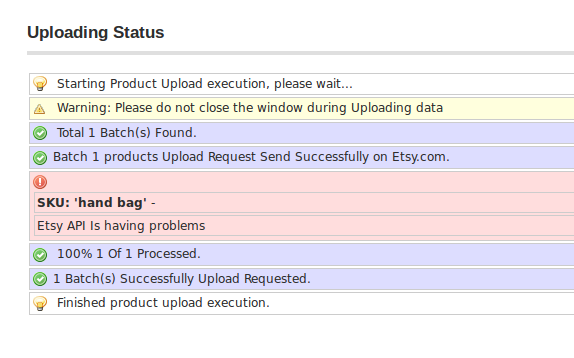
Similarly, upon selecting the Validate & Upload Product(s), if there is any error, the page and information regarding the error will be shown to you as:
-
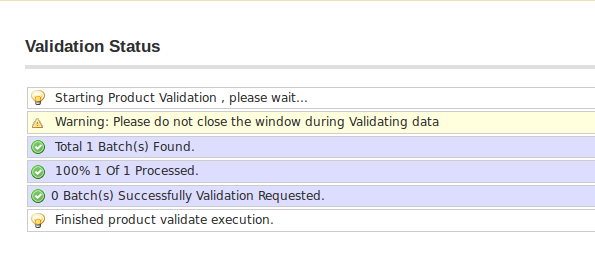
On the contrary, when your product gets successfully validated after you click on the Submit button post selecting the Validate Selected Product(s), the page shown to you is as below, regarding the successful completion of the validation of the product.
-
While after selecting the Validate & Upload Product(s), and clicking on the submit button, if your product has successfully been requested to be uploaded on Etsy, you come across the following page with the mentioned information.
- Now the long and short of it is that if and when your product has been validated for every detail that it is required to be validated for, it is ready to be uploaded whenever you want it to be on Etsy, instantly or later.


