
MageNative Configuration
After App building and connector installation, the admin has to configure the various features of the app through the Admin panel. The Admin has the right to enable or disable the features of the extension.
To set up the configuration settings
- Go to the Admin panel.
- On the left navigation bar, click the MageNative menu, and then click the MageNative Configuration.
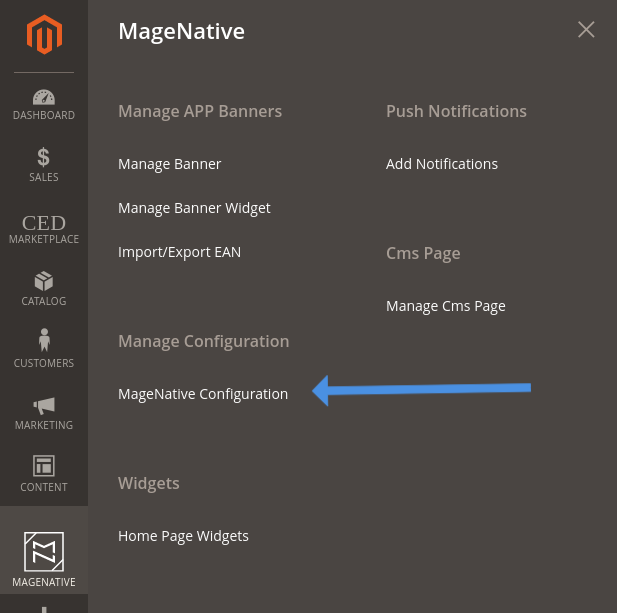
- The Configuration page appears.
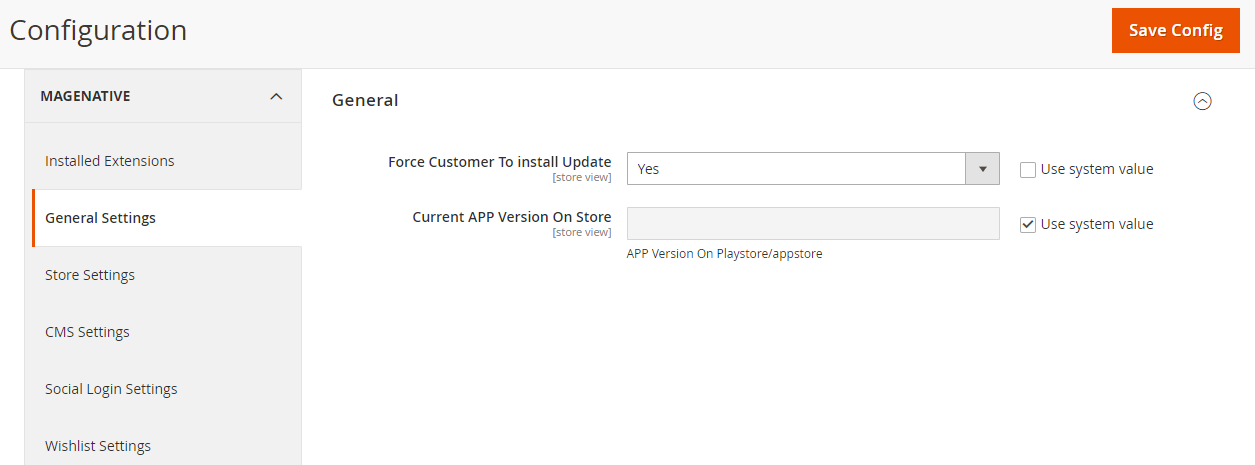
Note: While setting the configuration, the admin can click the Save Config button, to save the settings at any point.
- On the MAGENATIVE menu, click Installed Extensions.
In the right panel, under Installed Extensions, the corresponding fields appear as shown in the following figure:
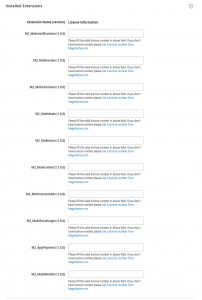
- Enter the valid license numbers in the respective fields.
Note: The license numbers that have been automatically generated while downloading the purchased extensions or package. If the license numbers are not available, then get them from https://magenative.cedcommerce.com. - In the right panel, click the Notifications tab.
The tab is expanded and the corresponding field appears as shown in the following figure:
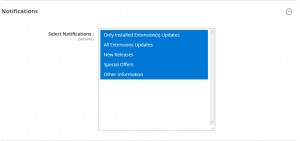
- In the Select Notifications box, select the required notifications.
Tip: To select more than one notification, select a single notification, then hold down the CTRL key, and then click other required notifications.
- On the MAGENATIVE menu, click Store Settings.
In the right panel, the corresponding fields under the General tab appear as shown in the following figure:
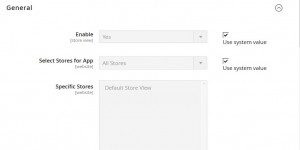
- Under General, do the following steps:
- In the Enable list, do one of the following:
- Select the corresponding Use System Value checkbox, to use the default value.
OR - Clear the Use System Value checkbox, and then enter the required value in the Enable list.
Note : If the admin selects the No option, then the MageNative Store feature is disabled.
- Select the corresponding Use System Value checkbox, to use the default value.
- In the Select Store for App list, select the required value.
- All Stores: The default value is All Stores. It means, all the stores are available in the app.
- Specific Stores: If the admin selects Specific Stores, then the Specific Stores field is activated.
- In the Specific Stores list, select the required stores.
Note: The default value is Default Store View.
- In the Enable list, do one of the following:
- On the MAGENATIVE menu, click Social Login Settings.
In the right panel, the corresponding field under the General tab appears as shown in the following figure:

- Under General, in the Enable list, do one of the following:
- Select the corresponding Use System Value checkbox, to use the default value.
OR - Clear the Use System Value checkbox, and then enter the required value in the Enable list.
Note: If the admin selects the No option, then the Social Login feature is disabled.
- Select the corresponding Use System Value checkbox, to use the default value.
- On the MAGENATIVE menu, click Wishlist Settings.
In the right panel, the corresponding field under the General tab appears as shown in the following figure:

- Under General, in the Enable Wishlist list, do one of the following:
- Select the corresponding Use System Value checkbox, to use the default value.
OR - Clear the Use System Value checkbox, and then enter the required value in the Enable Wishlist list.
Note: If the admin selects the No option, then the Wishlist feature is disabled.
- Select the corresponding Use System Value checkbox, to use the default value.
- On the MAGENATIVE menu, click Deals Settings.
In the right panel, the corresponding field under the General tab appears as shown in the following figure:

- Under General, in the Enable list, do one of the following:
- Select the corresponding Use System Value checkbox, to use the default value.
OR - Clear the Use System Value checkbox, and then enter the required value in the Enable list.
Note: If the admin selects the No option, then the Deals feature is disabled.
- Select the corresponding Use System Value checkbox, to use the default value.
- On the MAGENATIVE menu, click Review and Rating Settings.
In the right panel, the corresponding field under the General tab appears as shown in the following figure:
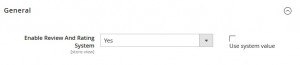
- Under General, in the Enable Review and Rating list, do one of the following:
- Select the corresponding Use System Value checkbox, to use the default value.
OR - Clear the Use System Value checkbox, and then enter the required value in the Enable Review and a Rating list.
Note: If the admin selects the No option, then the Review and Rating feature is disabled.
- Select the corresponding Use System Value checkbox, to use the default value.
- On the MAGENATIVE menu, click Push Notification.
In the right panel, the corresponding field under the General tab appears as shown in the following figure:
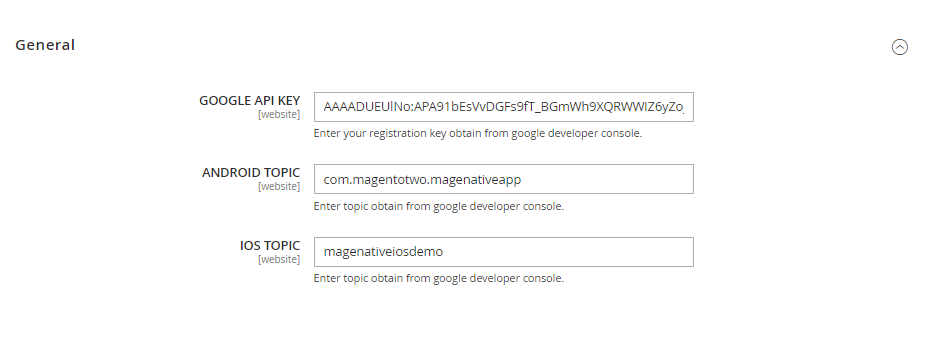
- Under General, do the following steps:
- In the Google API Key box. Enter your registration key obtain from the google developer console.
- In the ANDROID TOPIC box. Enter topic obtain from the google developer console.
- In the iOS TOPIC box. Enter topic obtain from the apple developer console.
- On the MAGENATIVE menu, click Advance Checkout Settings.
In the right panel, the corresponding field under the General tab appears as shown in the following figure:

- Under General, in the Enable list, do one of the following:
- Select the corresponding Use System Value checkbox, to use the default value.
OR - Clear the Use System Value checkbox, and then enter the required value in the Enable list.
Note: If the admin selects the No option, then the Advance Checkout feature is disabled.
- Select the corresponding Use System Value checkbox, to use the default value.
- Click the Save Config button.
×


