
Deal Groups
After creating the various deals, the admin can assign all the deals to the different deal groups.
Note: Until and unless the deal is assigned to any deal group, it is not available on the app home page.
Admin can perform the following tasks:
To add deal groups
- Go to the Admin panel.
- On the left navigation bar, click the MageNative menu, and then click Add DealGroup.
The Deal Group(s)page appears as shown in the following figure: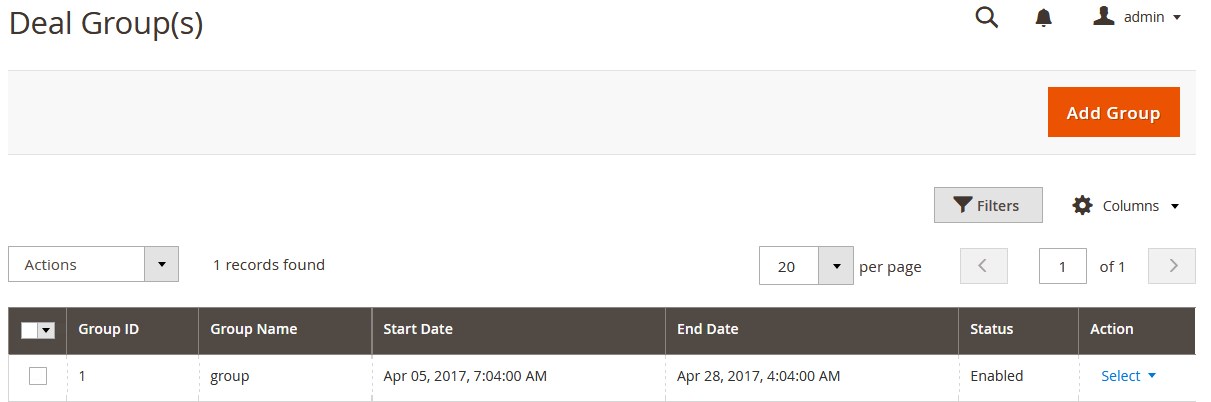
- Click the Add Group button.
The New Group page appears as shown in the following figure: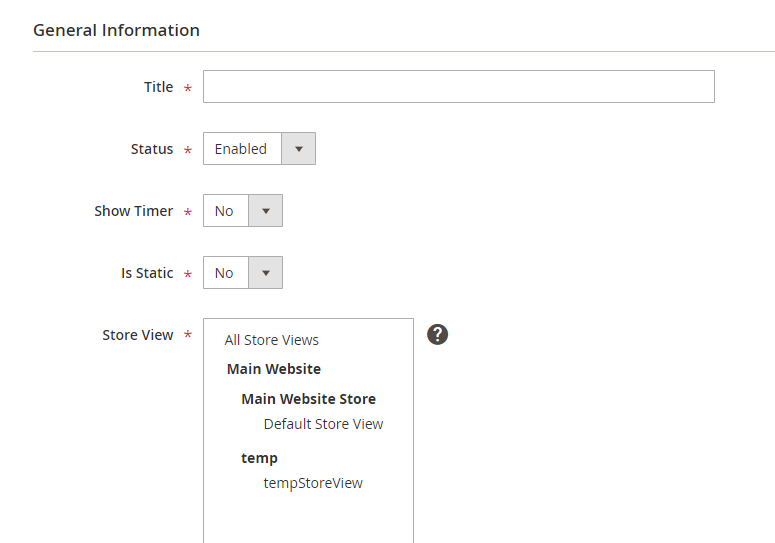
- In the Title box, enter the title for the Deal group.
- Set the Status option to Enabled or Disabled.
- Set the Show Timer option to Yes or No
- Set the Is Static option to Yes or No
- In the Store View list, select the required store view or select all by using the Control key.
- In the From and To box, click the Calendar
 icon.
icon.
From denotes the start date and To denotes the end date of the deal.
The calendar appears as shown in the following figure: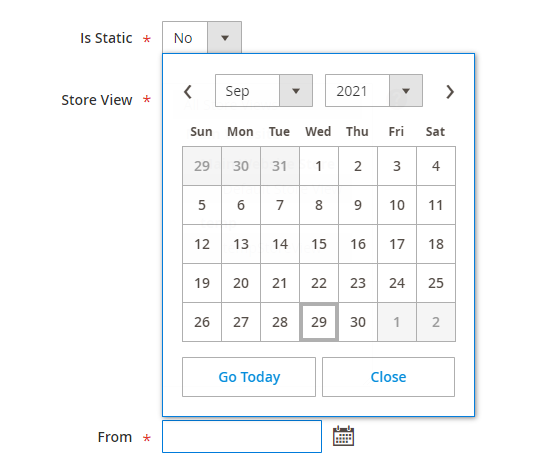
- Select the required time period for the Deal to run.

- Click the Close button.
- Click the Assign Deal tab.
- The tab is expanded, and the available Deals are listed in the tabular format as shown in the following figure:
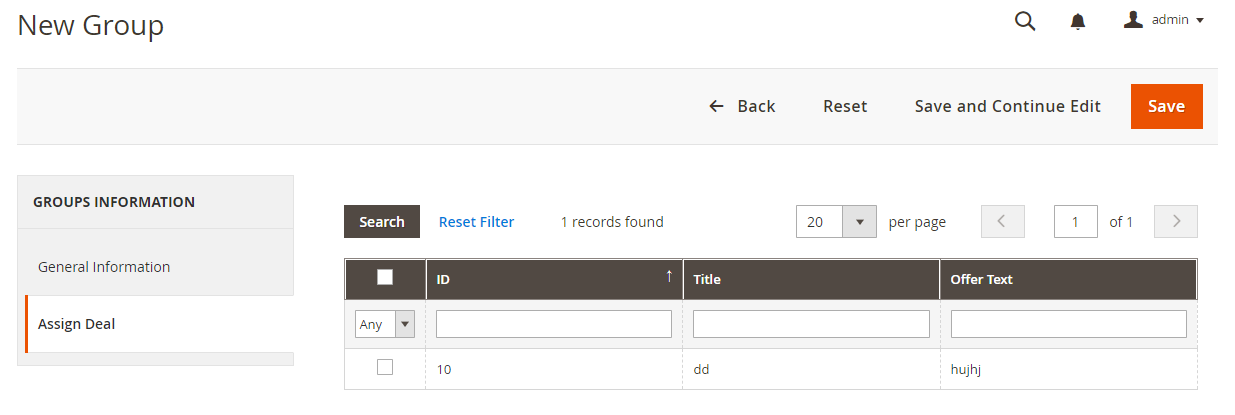
- Select the Check Box associated with the deal that the admin wants to assign to the Deal Group.
- Click the Save button.
To edit the existing deal group
- Go to the Admin panel.
- On the left navigation bar, click the MageNative menu, and then click Add DealGroup.
The Deal Group(s)page appears as shown in the following figure: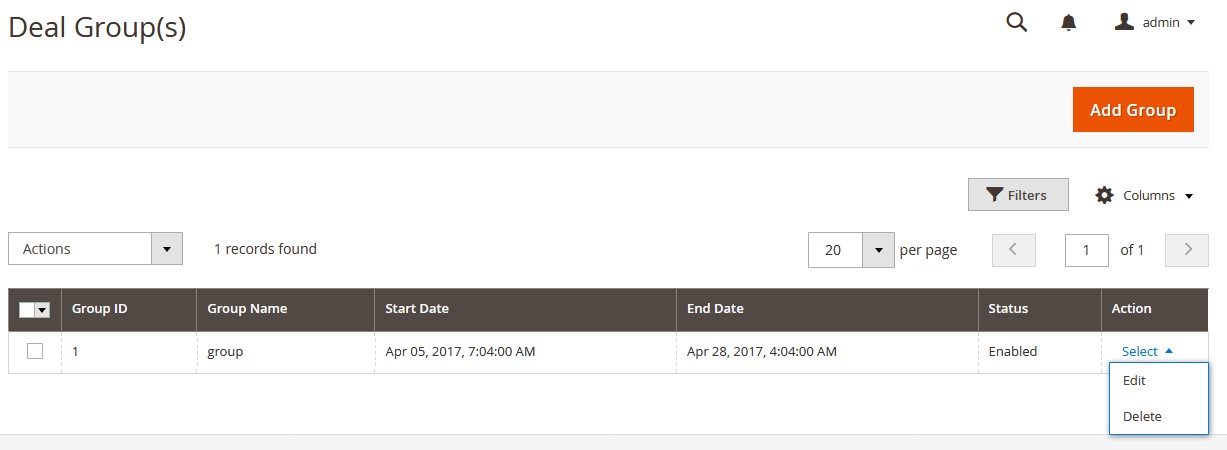
- In the Actions column, click the arrow next to the Select link associated with the required deal group, and then click Edit.
The selected deal group page appears for editing. - Make the required changes, and then click the Save Group button.
The changes made in the selected deal group are saved and the Deal Group(s) page is closed.
To delete the existing deal group
- Go to the Admin panel.
- On the left navigation bar, click the MageNative menu, and then click Add DealGroup.
The Deal Group(s)page appears as shown in the following figure: - In the Actions column, click the arrow next to the Select link associated with the required deal group, and then click Delete.
A confirmation dialogue box appears.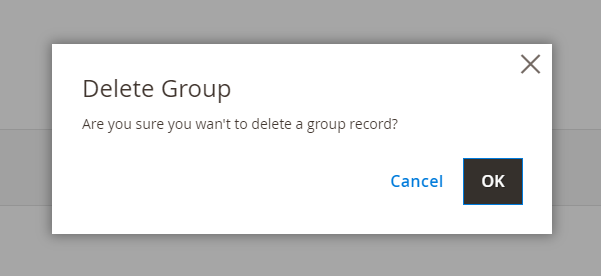
- Click the OK button.
The selected deal group is deleted and a success message appears.
×


