
Adding Store location - Frontend
- Store Locator > Add Locations
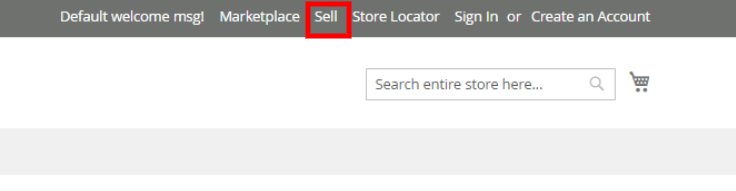
- On the vendor panel by clicking on Sell sign in as Vendor
- In the tabs available on the left panel click on the Store locator > Add locations
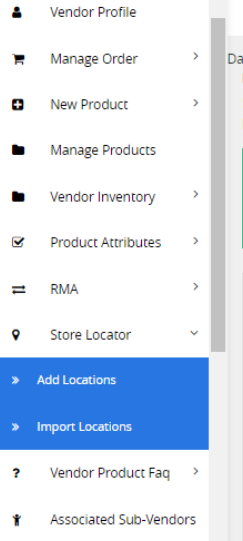
- On the next page, the vendor will see the following labels
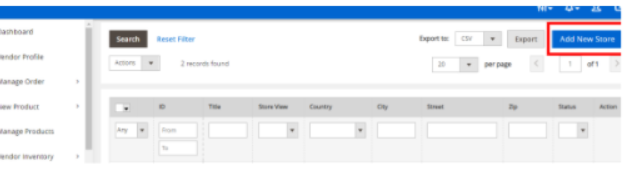
- Export to: Export to label allows you to download the added store location details in CSV format
- Action: Action labels allow you to delete the locations from the list after selecting
- Next Click on the label Add New Store
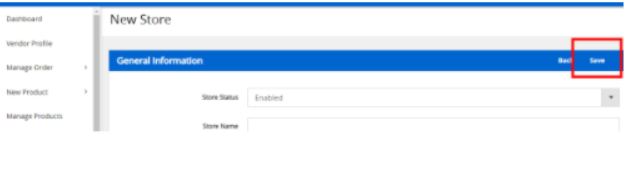
- In the General, Information form fills all the details. Under General Information, enter the following details:
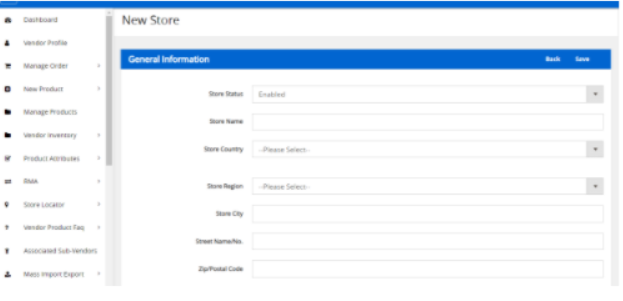
- Store Status: select Enabled to keep the store active.
- Store Name: enter the name of the store.
- Store Country: enter the country name.
- Store Region: enter the region of the store.
- Store City: enter the city of the store.
- Street Name/No.: enter the address.
- Zip/Postal Code: enter the PIN code.
- Store Phone No: enter the phone number of the store.
- Store View: select the required store view.
- Description: enter the description of the store.
- Store Image: select the store image.
- Click on the Save option
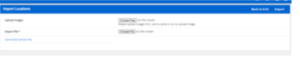
2. Store Locator > Import locations
- Import location option allows vendors to add multiple stores with their information in bulk through CSV file
×


