- Overview of the App
- Registration & Sign In on app
- Onboarding Process
- Authenticate your Salesforce Commerce Account Details on app
- How to get Account Manager Client ID from Salesforce Commerce?
- How to get Account Manager Secret Key from Salesforce Commerce?
- How to get Sub Domain URL from Salesforce Commerce?
- How to configure API Client?
- How to get Short Code, Organization ID, and Site ID from Salesforce Business Manager
- Business Manager User ID and Business Manager User Password
- Complete Onboarding Step 1: Verify your credentials on app
- Connect Facebook Account with the app
- Configure Category and Attribute Mapping on app
- Authenticate your Salesforce Commerce Account Details on app
- Dashboard
- Profile Tab
- Products Tab
- Orders Tab
- How to sync orders from Meta Commerce Platforms to Salesforce Store?
- What are the different order statuses?
- How to search for orders?
- What are the order fields?
- What are the additional fields?
- How to fetch orders?
- What is displayed under Order Details?
- How to map skipped orders?
- How to manage pending orders?
- Configurations Tab
- Activities Tab

3.1.2.1.1.2.4.5.1.How to create a new pixel ↑ Back to Top
If you don’t find any options under “Pixels” or in case you want to create a separate one for the Ad Account dedicated only for Facebook and Instagram Shops, click on “Create New” as displayed below:
![]()
With this, you have successfully connected Meta Business Manager, Facebook Page, Meta Product Catalogue, Meta Ad Account, Meta Pixel Code with CedCommerce API.
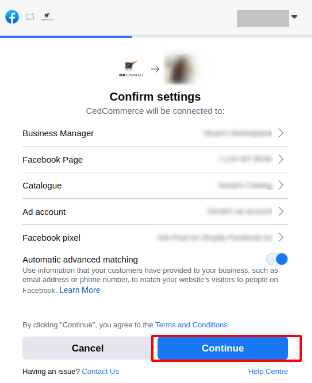
Next, you need to confirm the settings (details provided) as we mentioned in the initial stage. For your convenience, we have re-attached the tab snapshot below to avoid any confusion – simply click on “Continue”.

×


