
MobiConnect Configuration
After App building and connector installation, the admin has to configure the various features of the app through the Admin panel. The Admin has rights to enable or disable the features of the extension.
To set up the configuration settings
- Go to the Admin panel.
- On the top navigation bar, point to the Mobiconnect menu, and then point to the Connector Setting menu.
The menu appears as shown in the following figure:
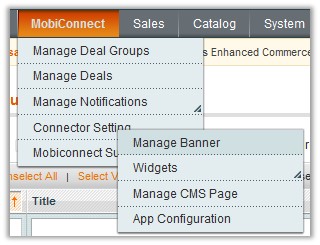
- Click App Configuration.
The page appears as shown in the following figure:
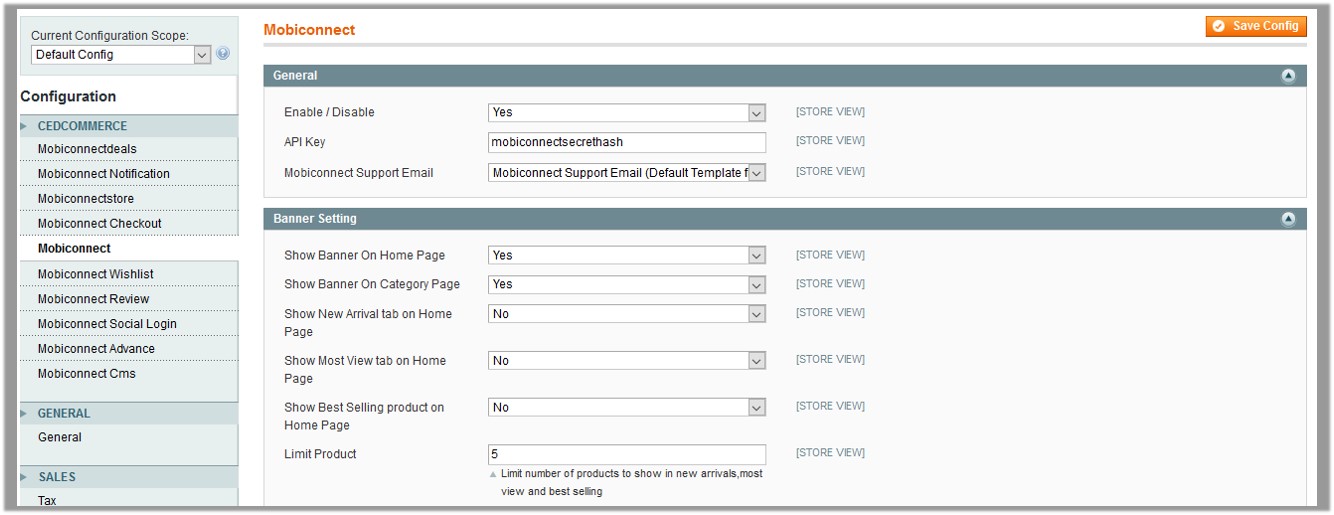
- In the right panel, under General, do the following steps:
- In the Enable list, select Yes to enable the extension feature.
- In the API Key box, enter the API Key value provided by MageNative.
- In the Mobiconnect Support Email list, select the required template.
The Default template is already selected.
- Under Banner Setting, do the following steps:
- In the Show Banner On Home Page list, select Yes to display the banner on the Home page if required.
- In the Show Banner On Category Page list, select Yes to display the banner on the Category page if required.
- In the Show New Arrival tab on Home Page list, select Yes to display the New Arrival tab on the Home page if required.
- In the Show Most View tab on Home Page list, select Yes to display the Most View tab on the Home page if required.
- In the Show Best Selling product on Home Page list, select Yes to display best selling product on the Home page if required.
- Click the Save Config button.
- In the left navigation panel, click the Mobiconnectdeals menu.
- In the right panel, click the Enable Deals Banner App tab.
The relevant field on the Mobiconnectdeals page appears as shown in the following figure:

- Under Enable Deals Banner App, do the following step:
- In the Enable list, select Yes to enable the deals banner app.
- In the left navigation panel, click the Mobiconnect Notification menu.
The Mobiconnect Notification page appears as shown in the following figure:

- In the right panel, under Enable Notification, do the following steps:
- In the Enable list, select Yes to enable the notification.
- In the GOOGLE API KEY box, enter the registration key obtained from the Google developer console.
- In the left navigation panel, click the Mobiconnectstore menu.
- In the right panel, click the Enable MultiStore App tab.
The relevant fields appear on the Mobiconnectstore page as shown in the following figure:
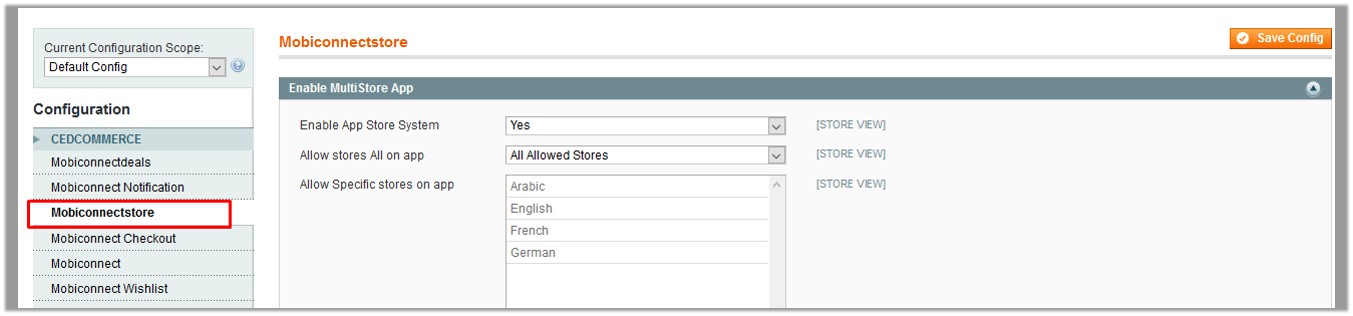
- Under Enable MultiStore App, do the following steps:
- In the Enable App Store System list, select Yes to enable multi-store app system.
- In the Allow Stores All on App list, select the required value.
- All Allowed Stores: The default value is All Allowed Stores. It means, all the stores are available in the app.
- Specific Stores: If the admin selects Specific Stores, then the Specific Stores field options are activated.
- In the Allow Specific stores on app list, select the required stores.
- In the left navigation panel, click the Mobiconnect Checkout menu.
- In the right panel, click the Enable Advance Checkout App tab.
The tab is expanded and the relevant field on the Mobiconnect Checkout page appears as shown in the following figure:
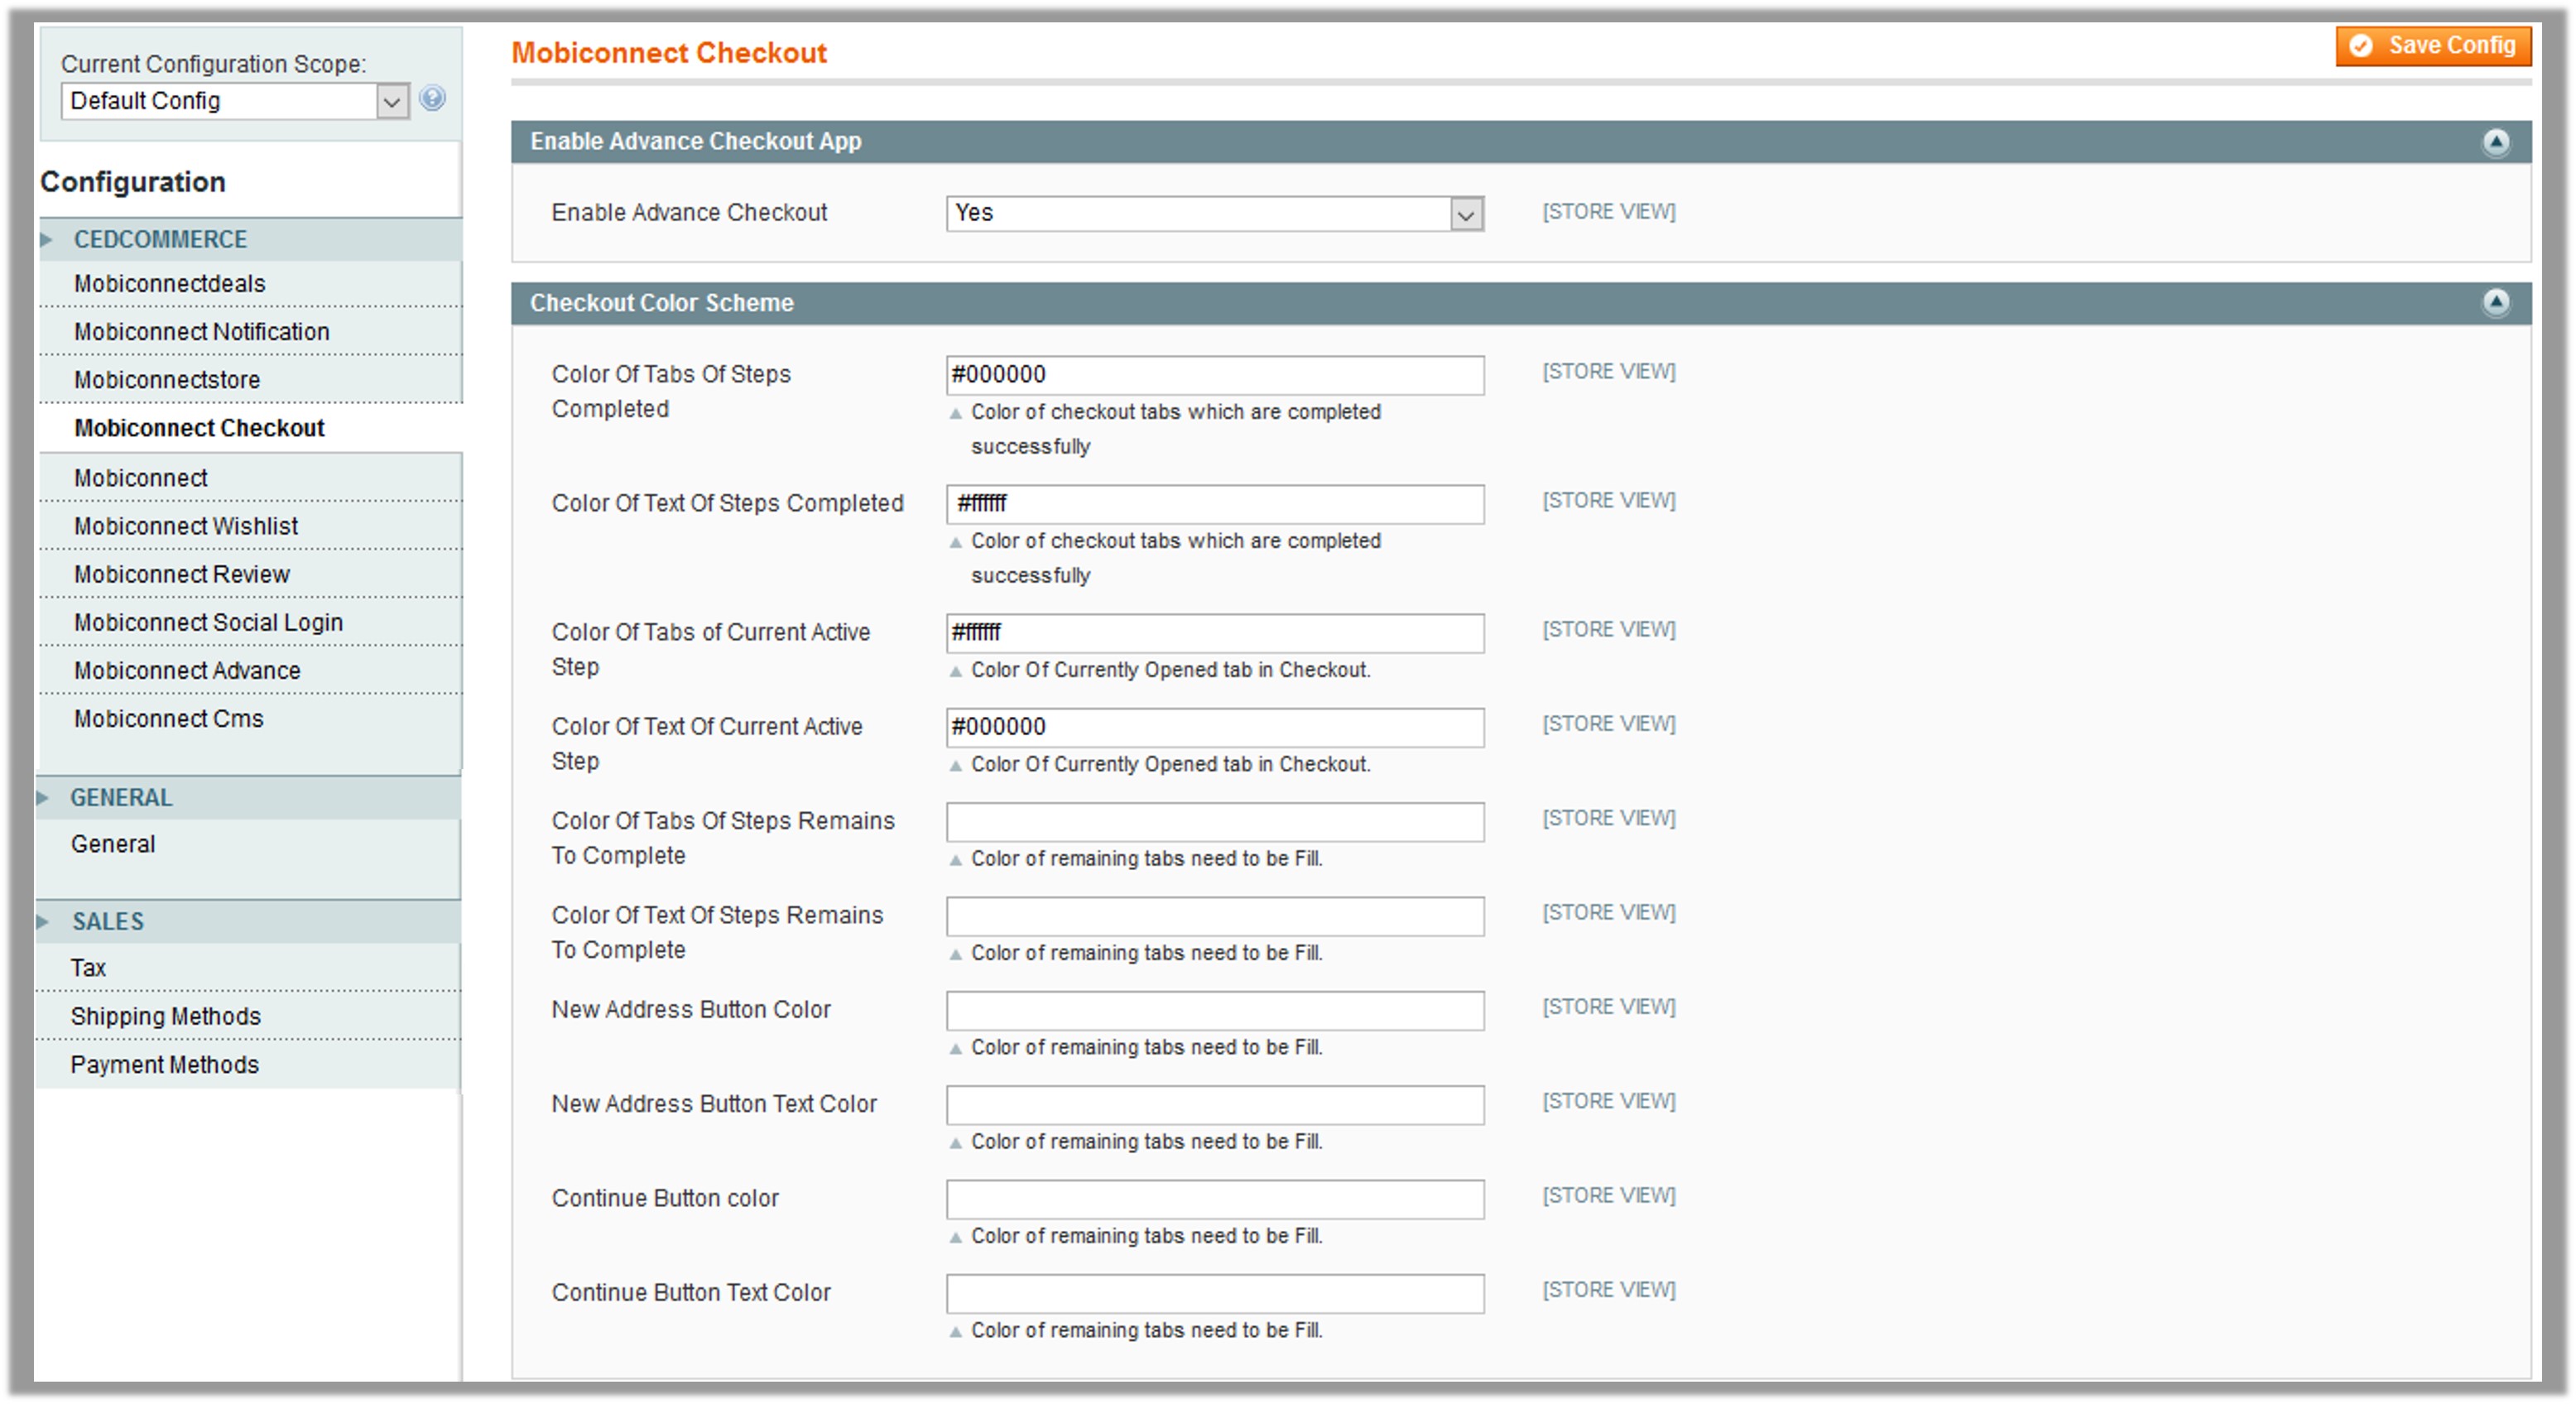
- Under Enable Advance Checkout App, do the following steps:
- In the Enable Advance Checkout list, select Yes to enable the advance checkout feature.
- Move to the Checkout Color Scheme tab, and then click the tab.
The relevant fields appear. - Under Checkout Color Scheme, enter the required color codes in the following fields:
- Color Of Tabs Of Steps Completed
- Color Of Text Of Steps Completed
- Color Of Tabs of Current Active Step
- Color Of Text Of Current Active Step
- Color Of Tabs Of Steps Remains To Complete
- Color Of Text Of Steps Remains To Complete
- New Address Button Color
- New Address Button Text Color
- Continue Button color
- Continue Button Text Color
- In the left navigation panel, click the Mobiconnect Wishlist menu.
- In the right panel, click the Mobiconnect Wishlist Configuration tab.
The relevant field on the Mobiconnect Wishlist page appears as shown in the following figure:
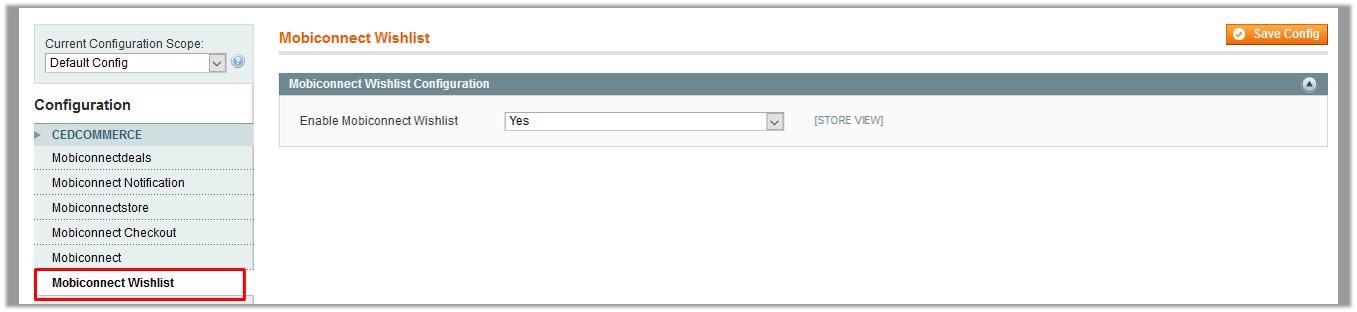
- Under Mobiconnect Wishlist Configuration, do the following step:
- In the Enable Mobiconnect Wishlist list, select Yes to enable the feature.
- In the left navigation panel, click the Mobiconnect Review menu.
- In the right panel, click the Mobiconnect Review And Rating tab.
The relevant field on the Mobiconnect Review page appears as shown in the following figure:
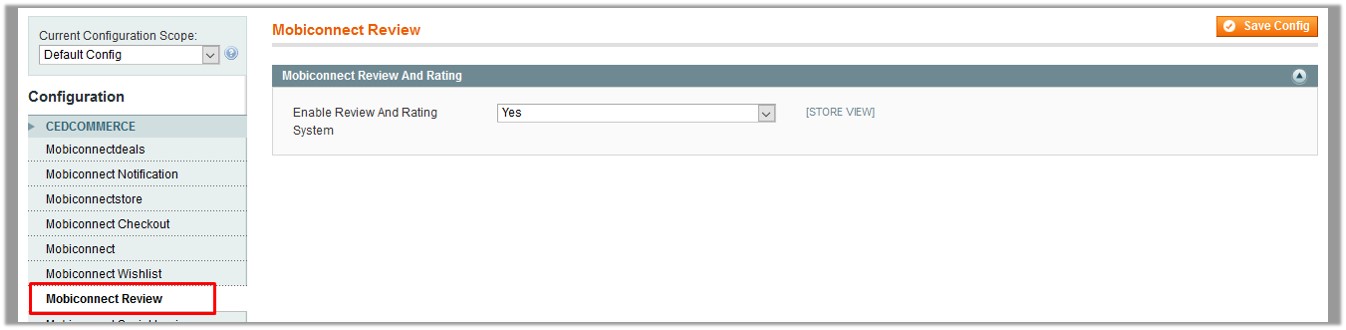
- Under Mobiconnect Review And Rating, do the following step:
- In the Enable Review And Rating System list, select Yes to enable the feature.
- In the left navigation panel, click the Mobiconnect Social Login menu.
- In the right panel, click the Mobiconnect Social Login tab.
The relevant field on the Mobiconnect Social Login page appears as shown in the following figure:
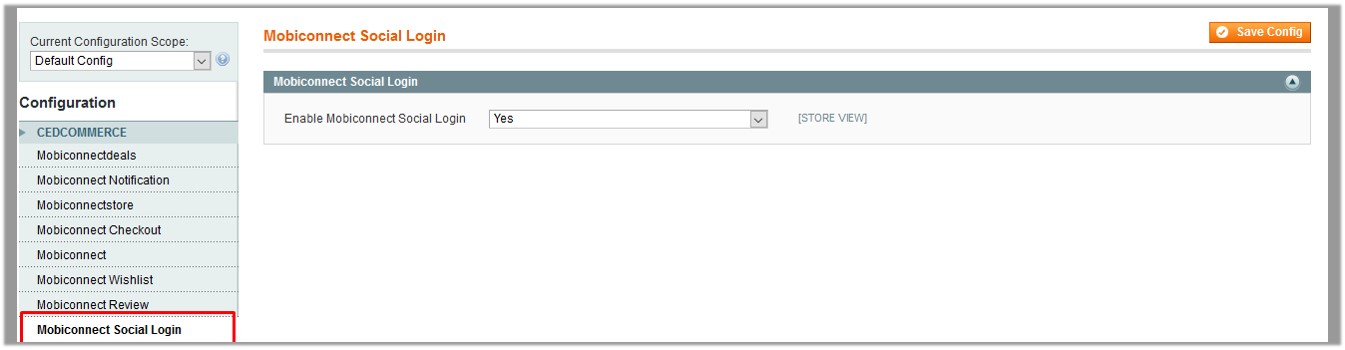
- Under Mobiconnect Social Login, do the following step:
- In the Enable Mobiconnect Social Login list, select Yes to enable the feature.
- In the left navigation panel, click the Mobiconnect Advance menu.
- In the right panel, click the Enable Advance Product App tab.
The relevant fields on the Mobiconnect Advance page appear as shown in the following figure:

- Under Enable Advance Product App, do the following steps:
- In the Enable Advance Product System list, select Yes to enable the feature.
- In the Show Category Name list, select Yes to show the category name.
- In the Enable Auto Complete Search list, select Yes to enable the feature.
- In the Limit Result box, enter the number of products to define the certain limits on search result.
- In the left navigation panel, click the Mobiconnect Cms menu.
- In the right panel, click the Mobiconnect CMS Configuration tab.
The relevant field on the Mobiconnect CMS page appears as shown in the following figure:
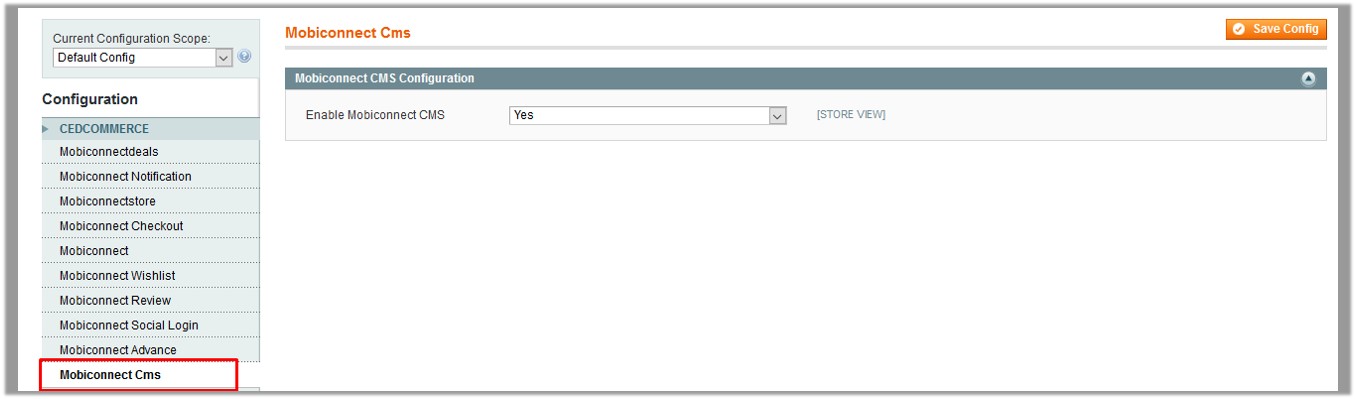
- Under Mobiconnect CMS Configuration, do the following step:
- In the Enable Mobiconnect CMS list, select Yes to enable the feature.
- Click the Save Config button.
×


