
3.2.3.1.How to Create a Product Template ↑ Back to Top
To create a profile on the App, follow these steps:
-
-
- Click on the “Create Profile”
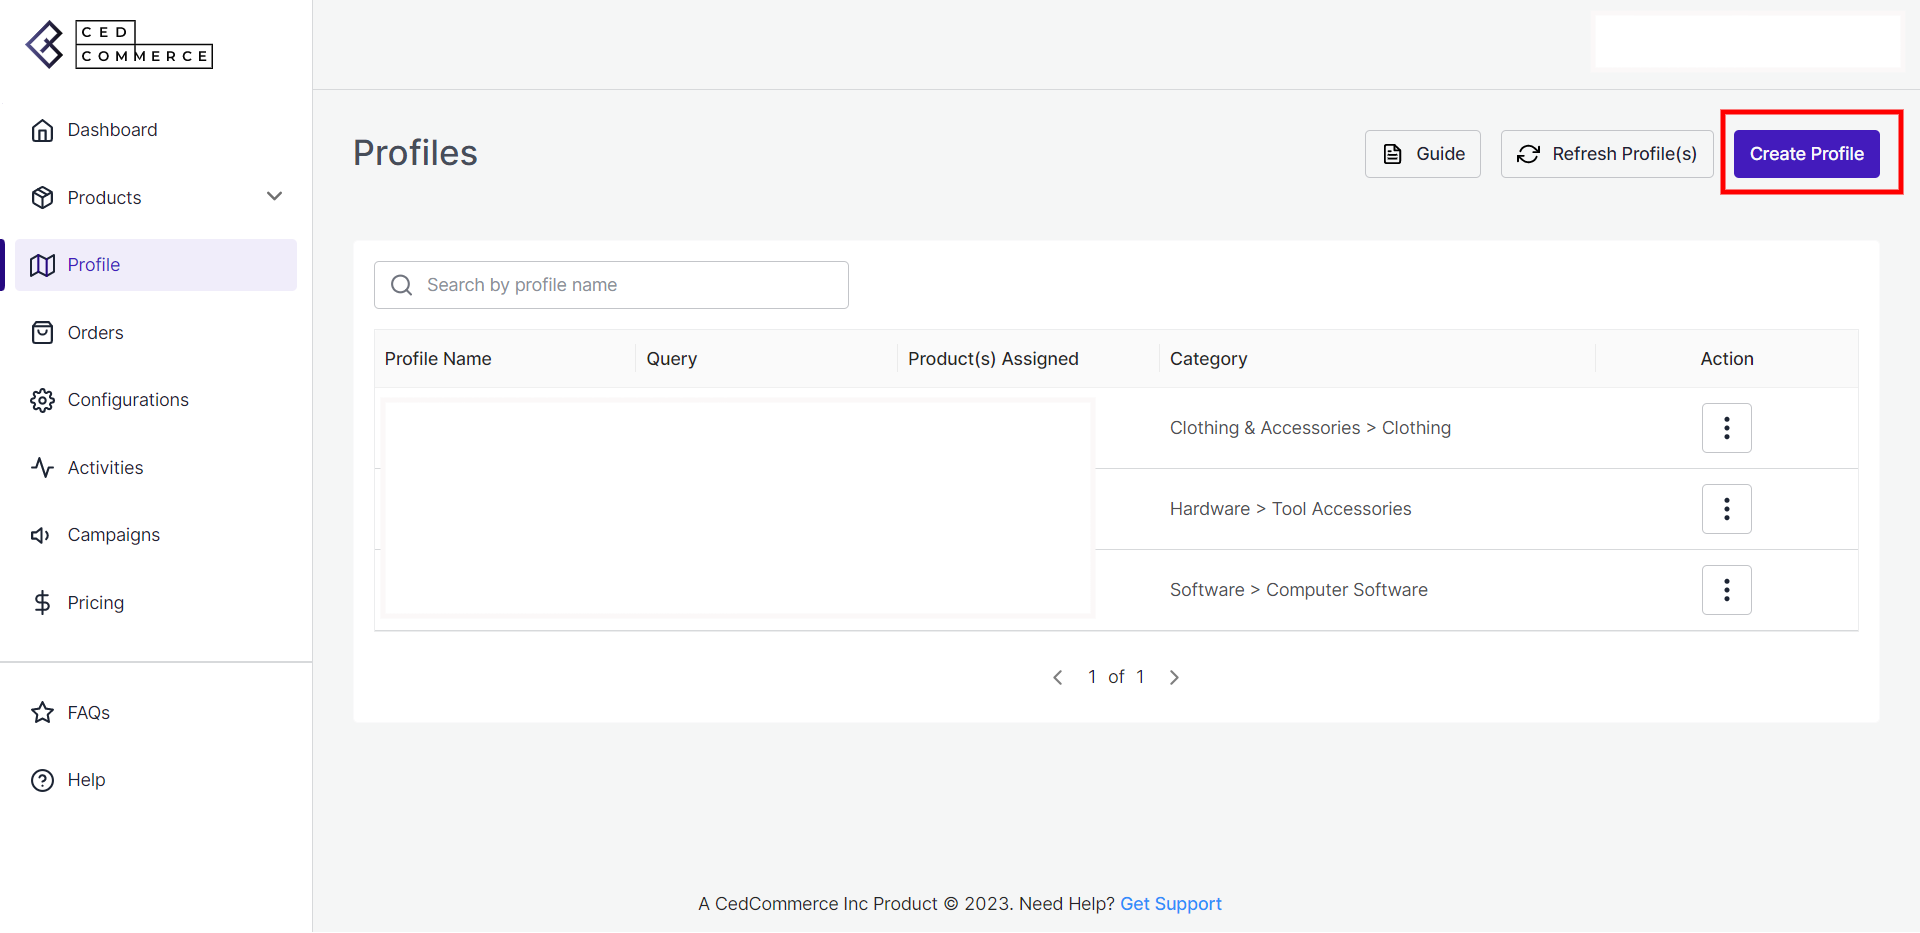
- A Create Profile window will appear. Product Source. Enter the “Profile Name” and select “Product Selection Criteria”. If you wish to override your products with already assigned templates, select the matching criteria from the Rule Group, and click on “Run query”.
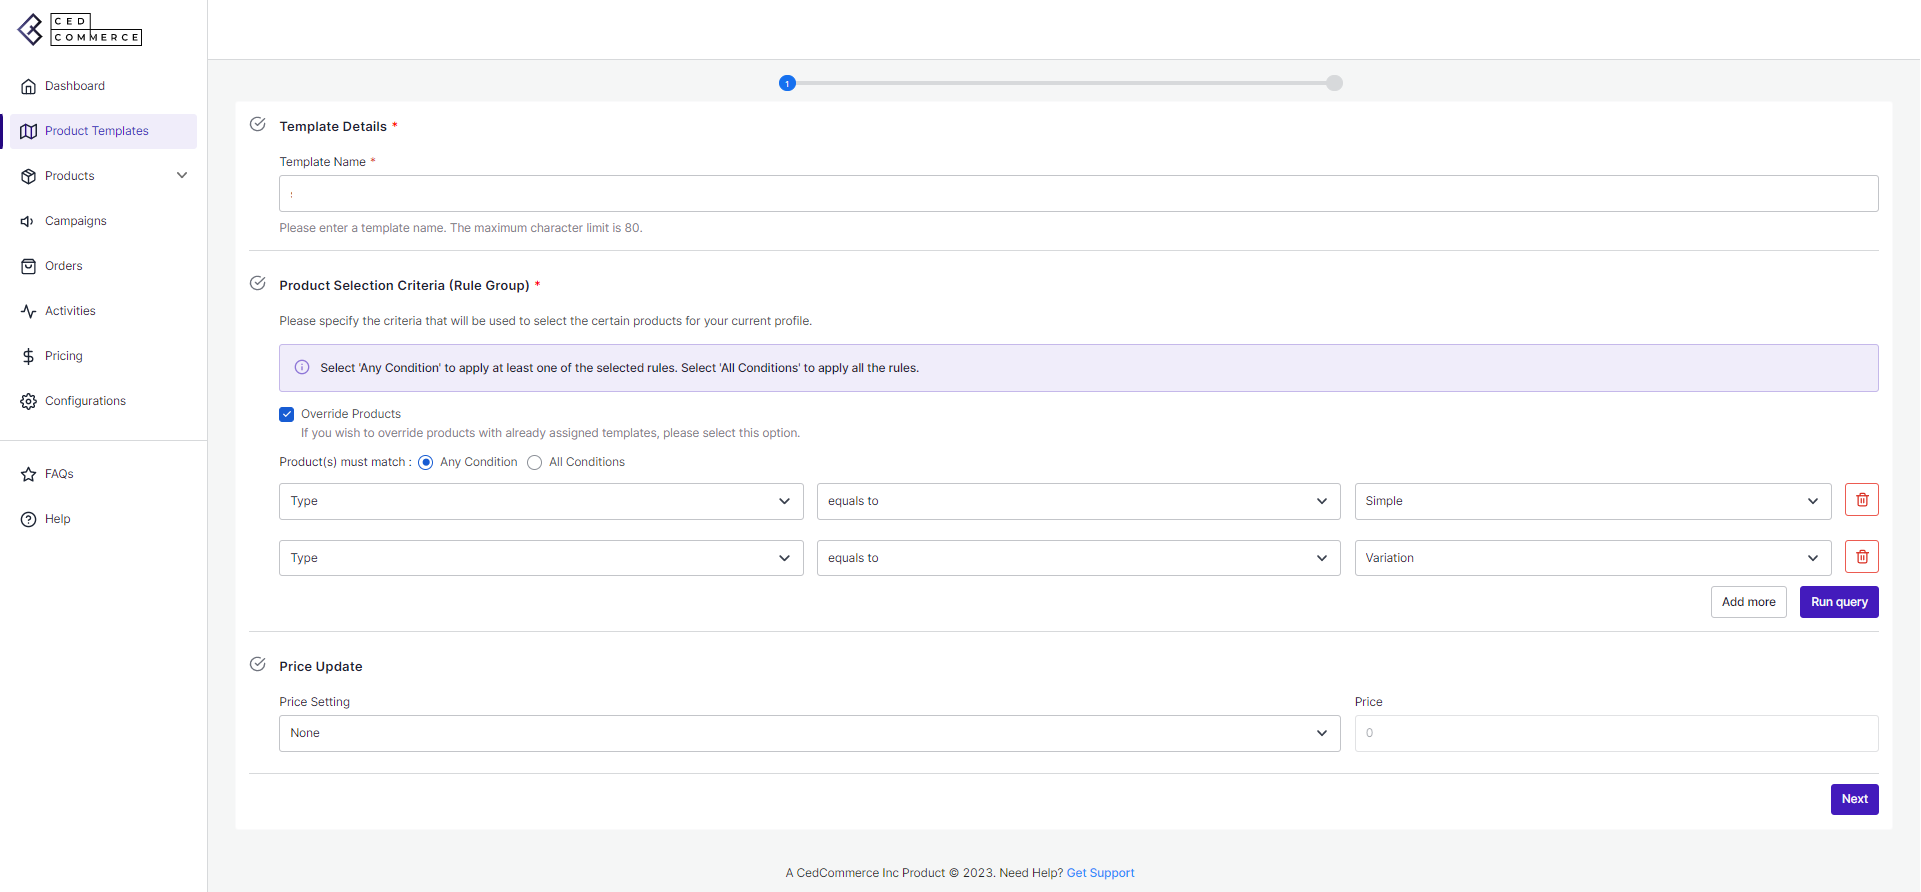
- Now select the Price Update from the drop-down, and click Next.
- Now specify the location of the Warehouse.
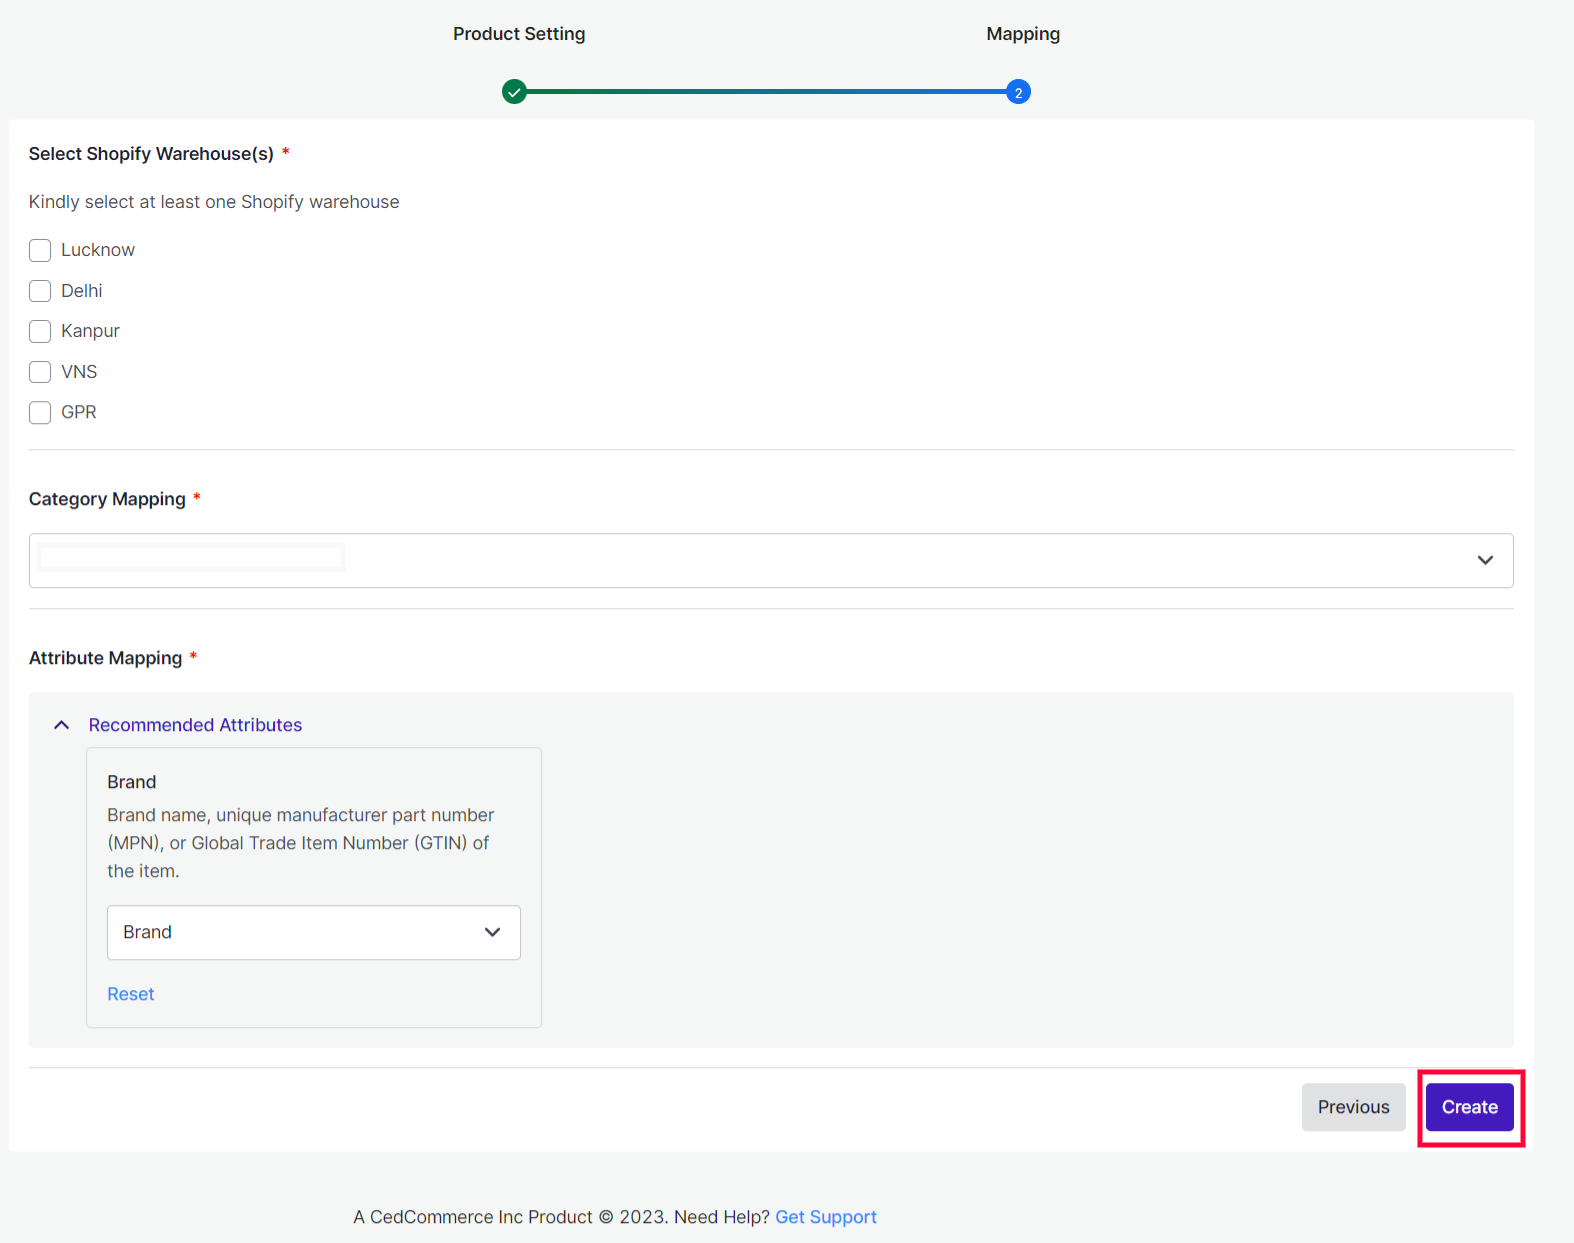
- Select the Category where you want to map the product. And then, select an attribute from the recommended attributes and click on Create.
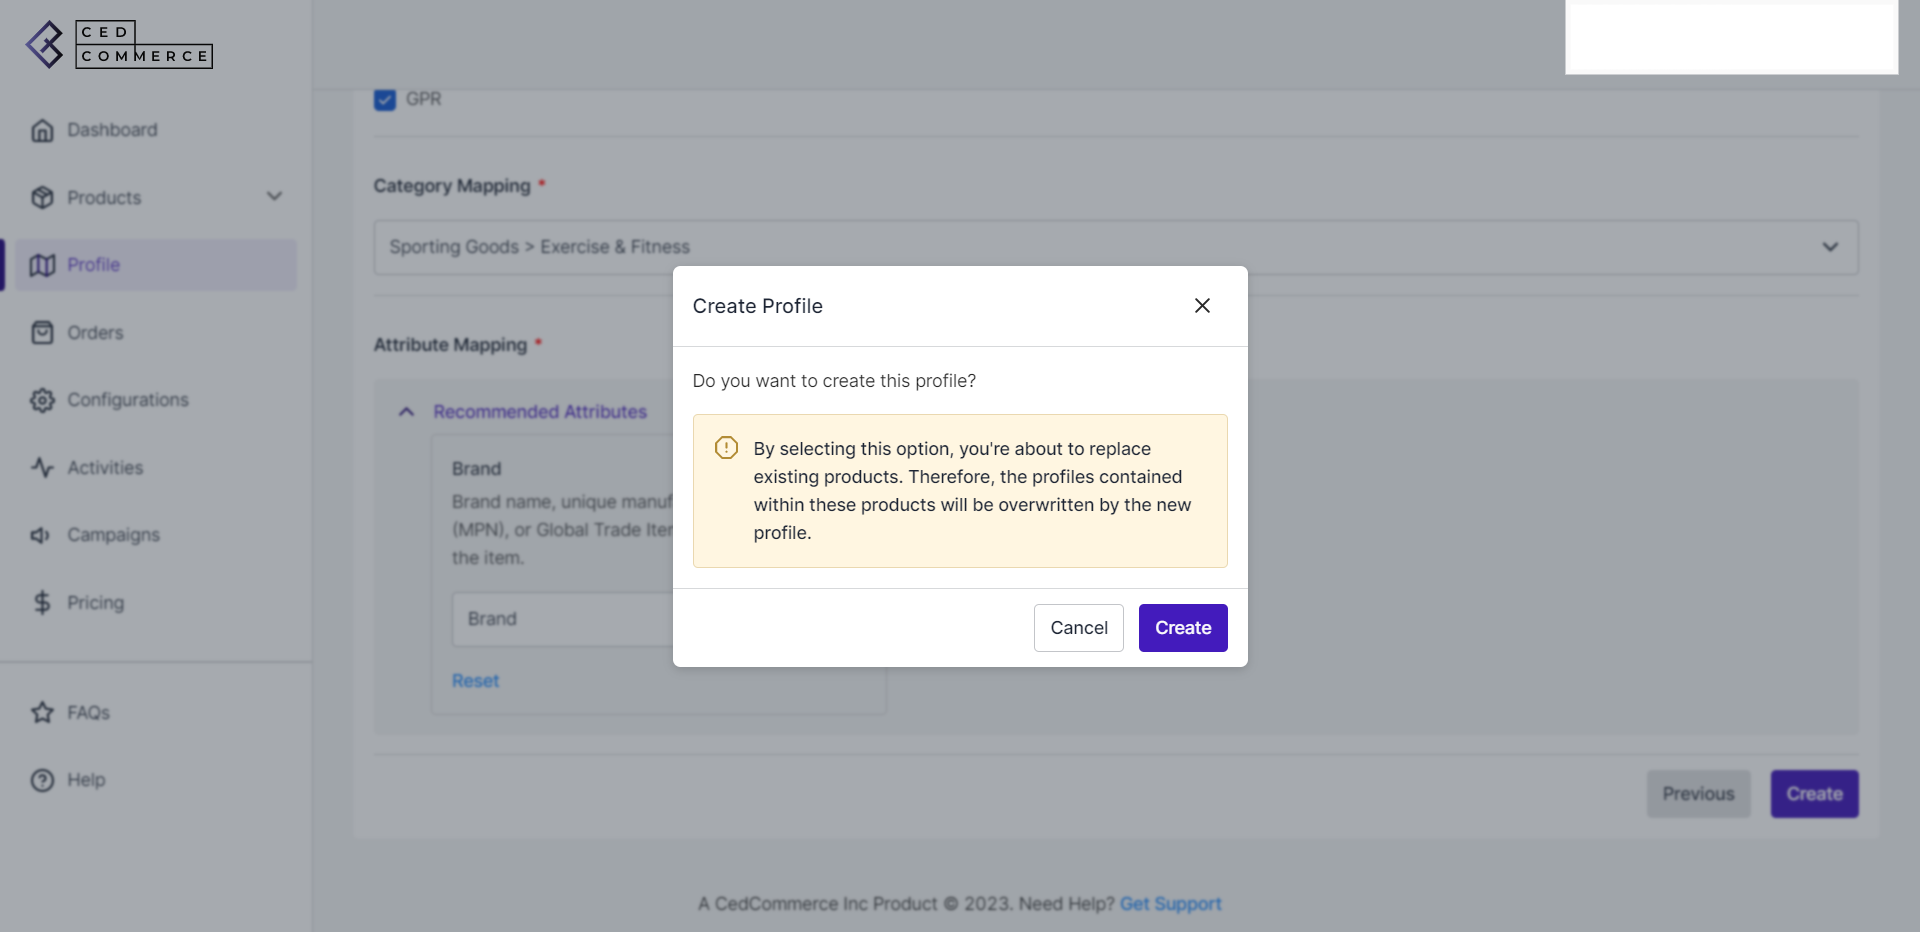
- A Create Profile box will appear. Click on “Create”.
- As you complete the mapping, the next window will appear where you can view all the details of the profile to cross-check it one more time. Click on the “Save Profile” option to save all the details. And then click on “Finish.”
- Now that you have saved the profile, it will start appearing in the “Profile” tab of the app. Now you can view your profile by clicking on View.
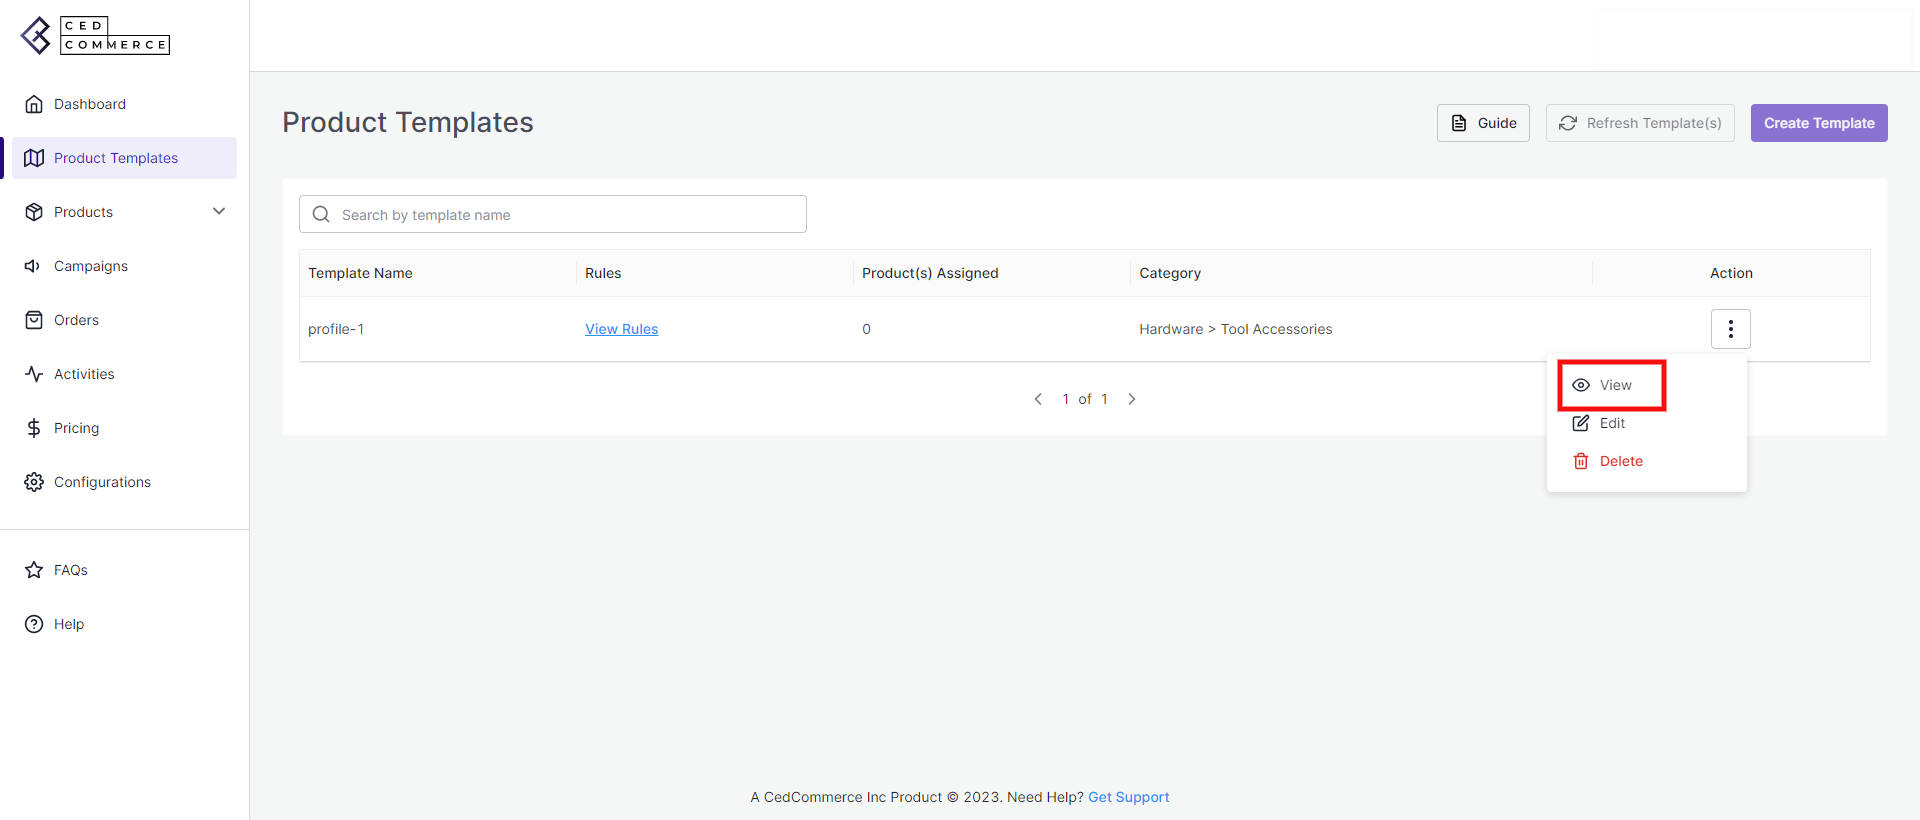
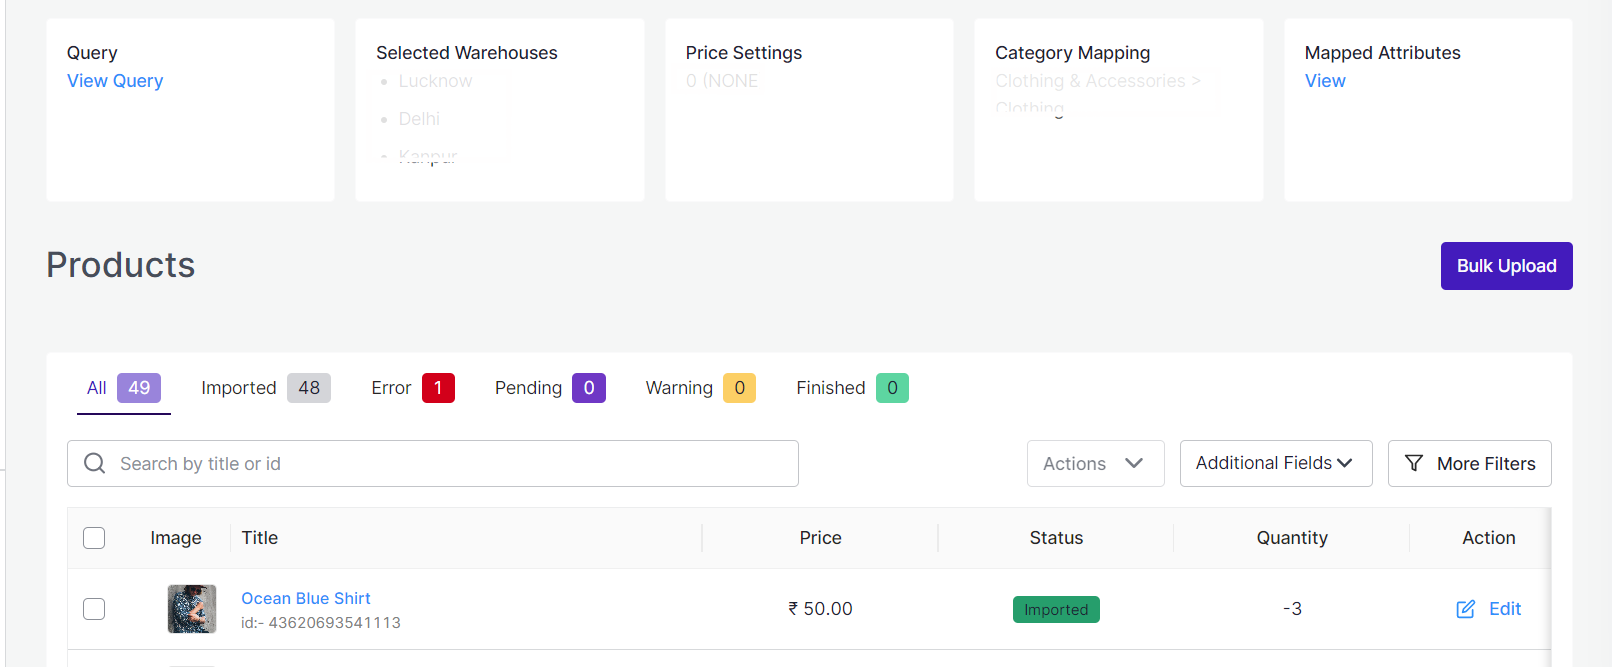
- As soon as you click on the option, the following screen will appear. Where you can view all your profile details like:
- Profile details
- Attributes mapped
- Warehouse mapped.
 You can also edit your profile in case of any changes by clicking on ‘Edit Profile.’
- Click on the “Create Profile”
-
×


