4.Connect your Zoho Inventory account to the Integration App ↑ Back to Top
Step 2
After setting up your account on CedCommerce’s Zoho Inventory Integration app, the next step is to establish a connection between your Zoho Inventory account and CedCommerce. This connection is essential for managing inventory and orders across various platforms such as BigCommerce, WooCommerce, and Magento. You have two options here, i.e., create a new Zoho inventory account or connect an existing Zoho account.
Refer here to learn more about creating an account on the Zoho Inventory.
Connect With Zoho Inventory
- To connect Zoho Inventory accounts first choose your Zoho data center from the drop-down menu and click on ‘Connect with Zoho’.
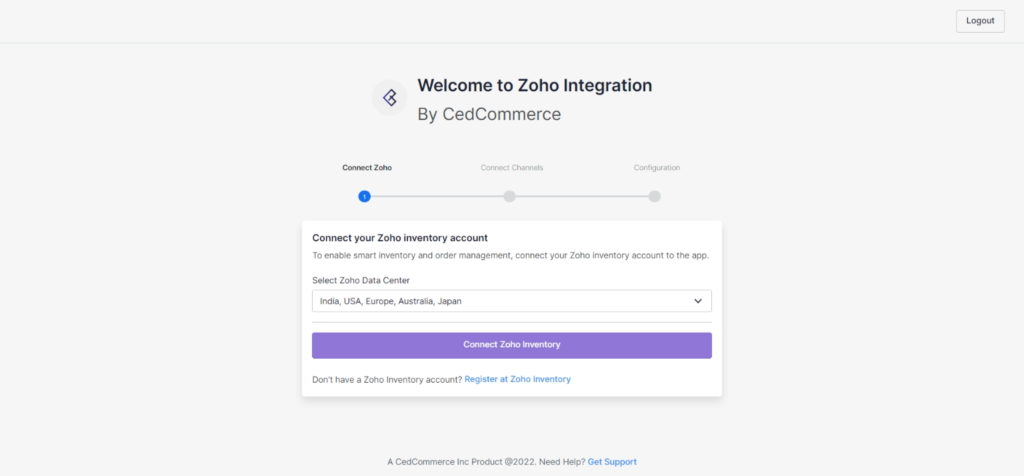
Pro Tip: To know your Zoho Data center, visit the Zoho Inventory web page, log in to your account and check its URL. If the URL contains
- Inventory.zoho.com – US region
- Inventory.zoho.in– India
- Inventory. zoho.eu – Europe
- Inventory.zoho.com.au – Australia
- Inventory.zoho.jp – Japan
2. You will be navigated to the ‘Zoho Inventory’ page. Login to your account using your email address and password.
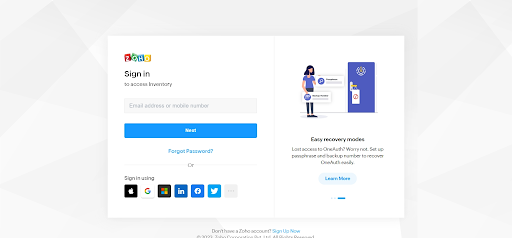
3. Authorize CedCommerce to access your Zoho Inventory account and confirm account connection using “OTP.”
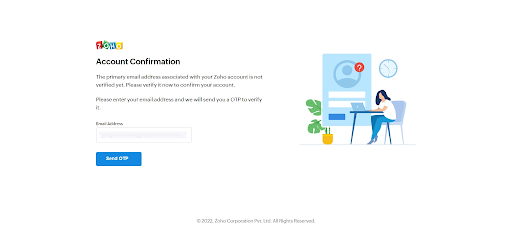
(Note: The OTP verification is optional based on Zoho Inventory account settings.)
4. Just accept and authorize CedCommerce to access Zoho Inventory information.
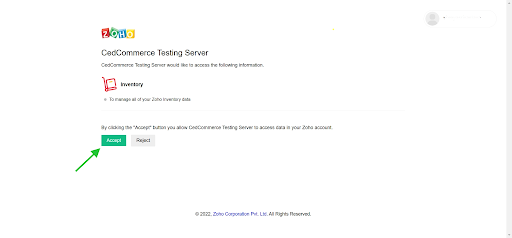
This will connect your Zoho inventory account to the Ced solution and help you manage IMS & OMS with all connected platforms.
{Note: The Zoho Inventory’s Organization ID will work as an identifier in the Ced integration app.}
Zoho Inventory Settings
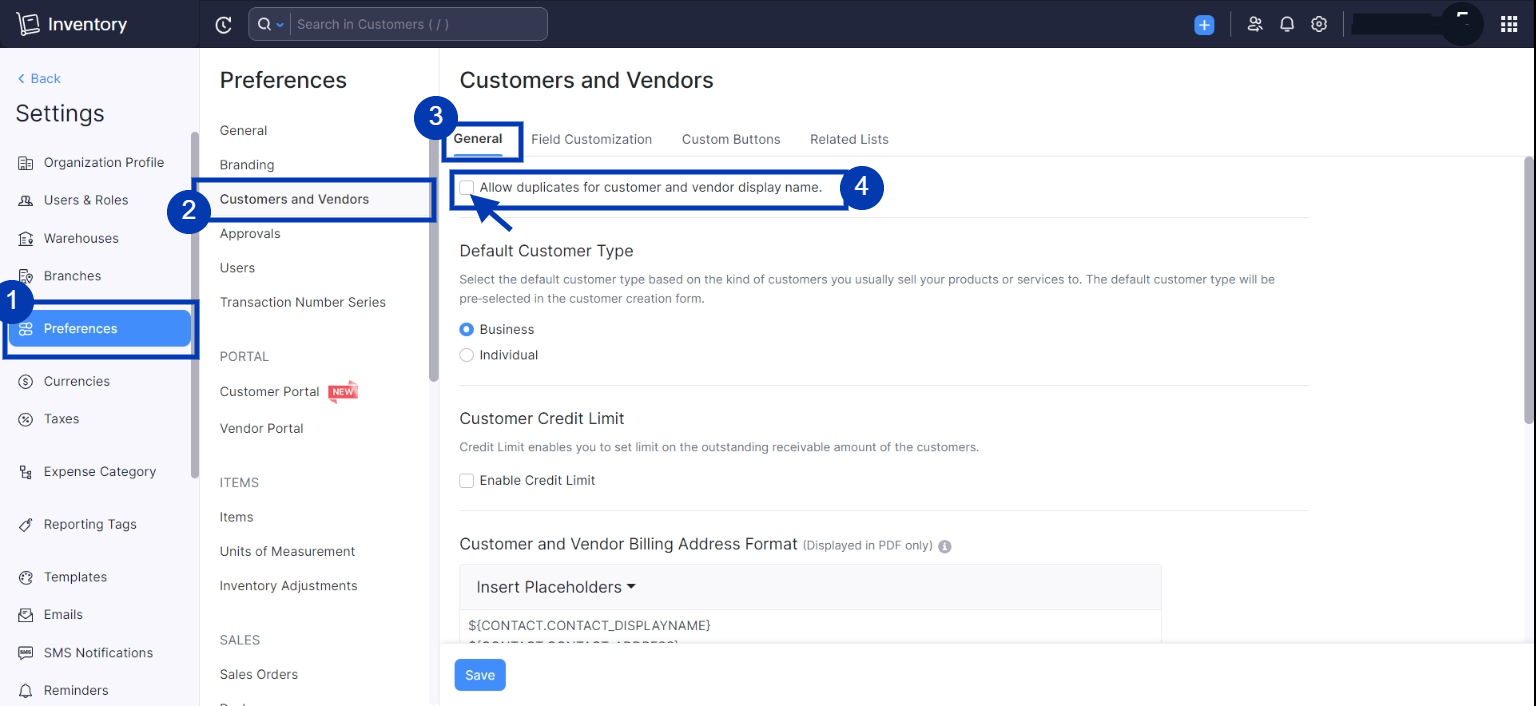
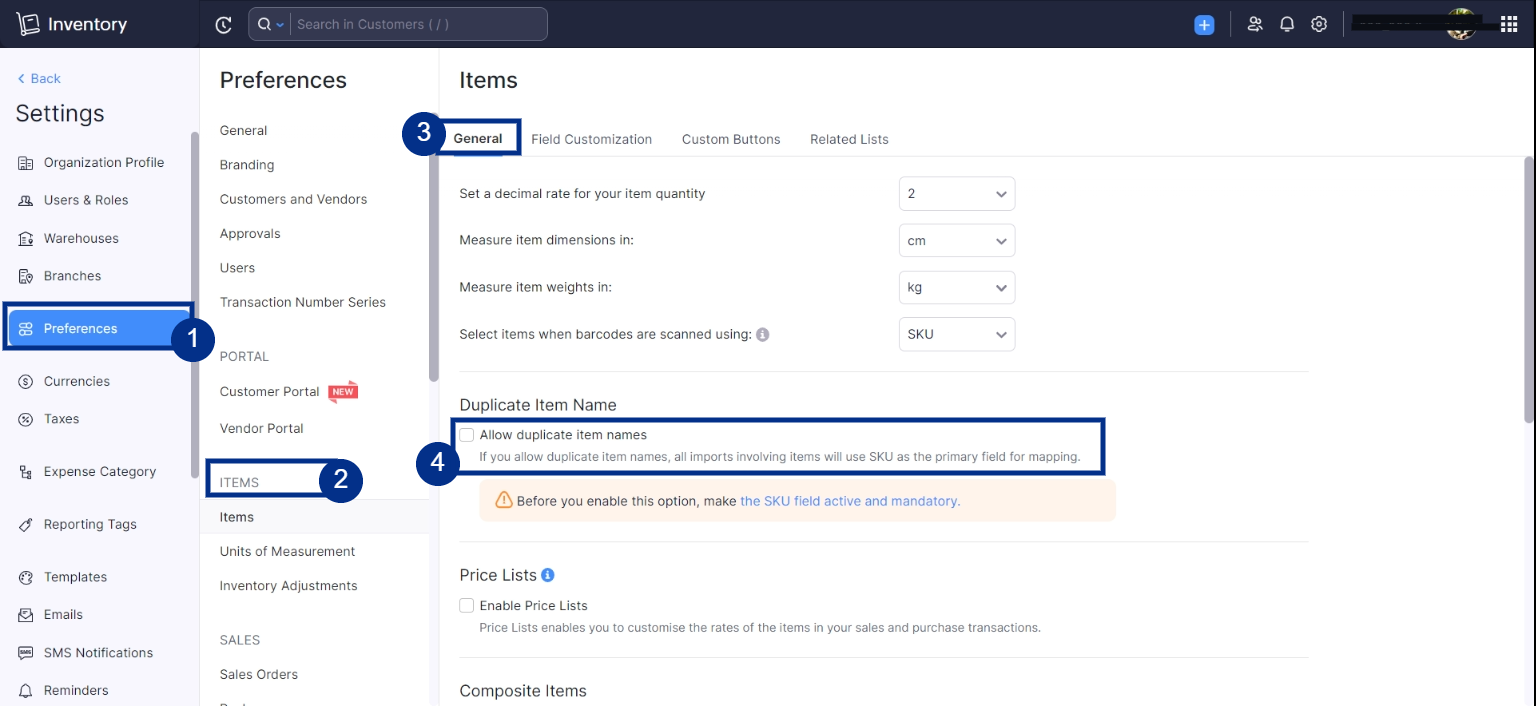
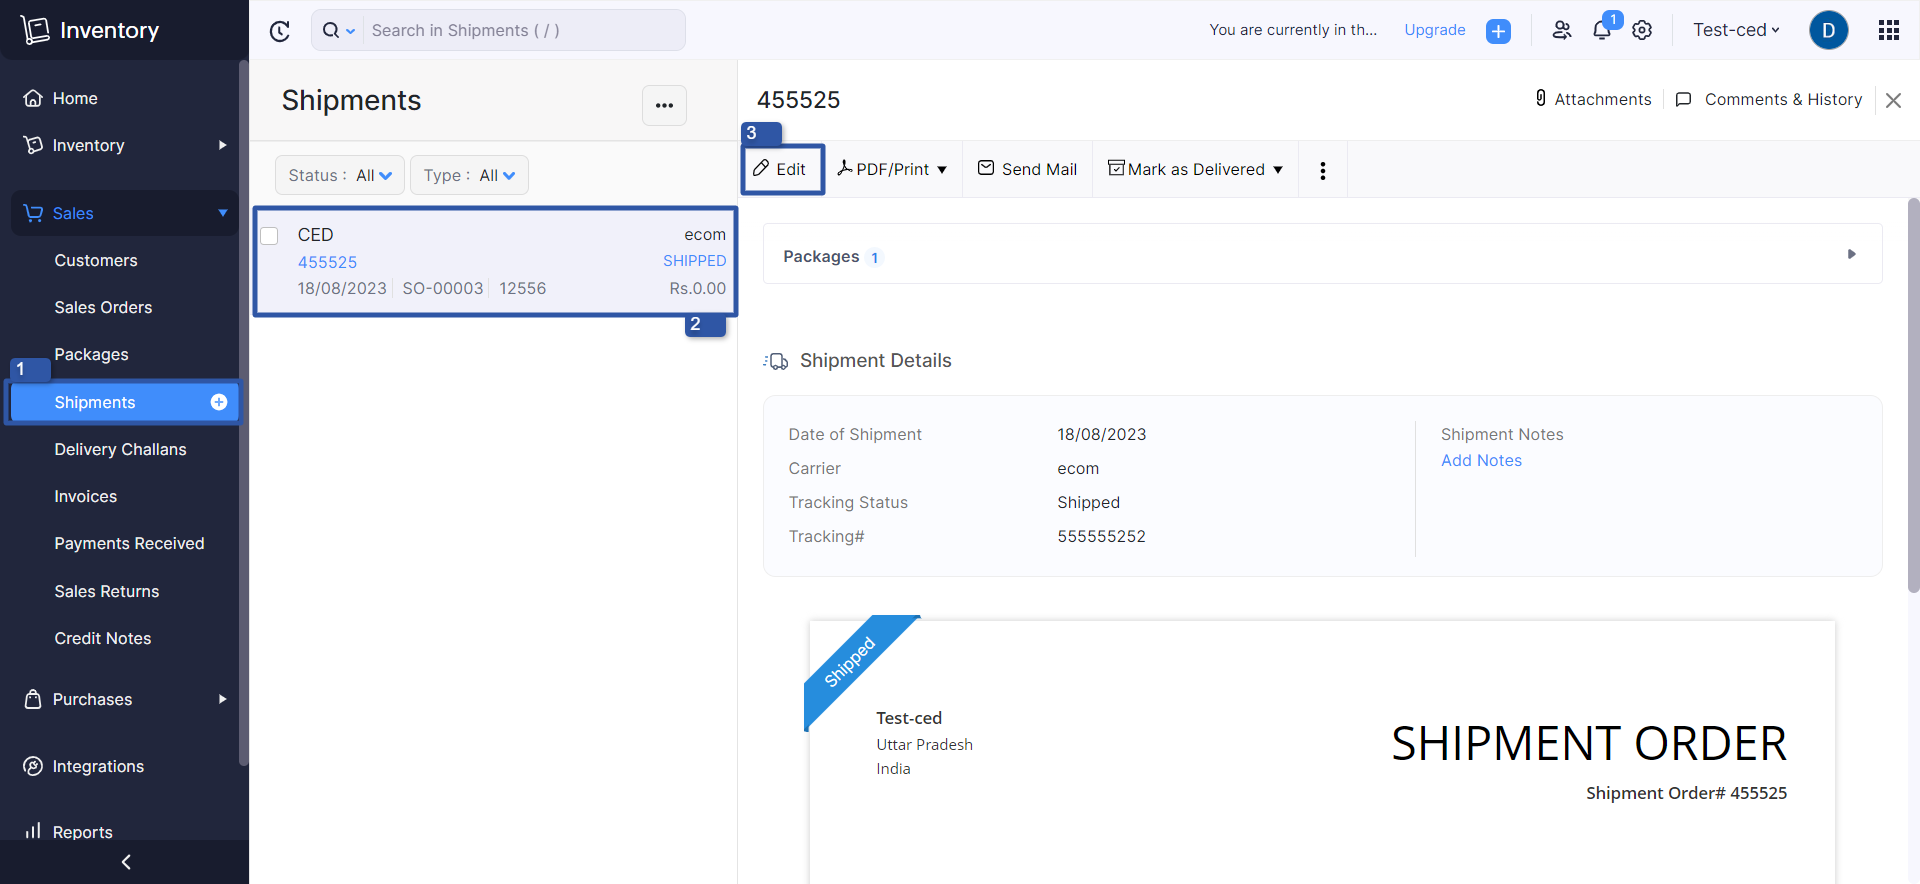
You need to disable auto package number generation from your Zoho inventory account.
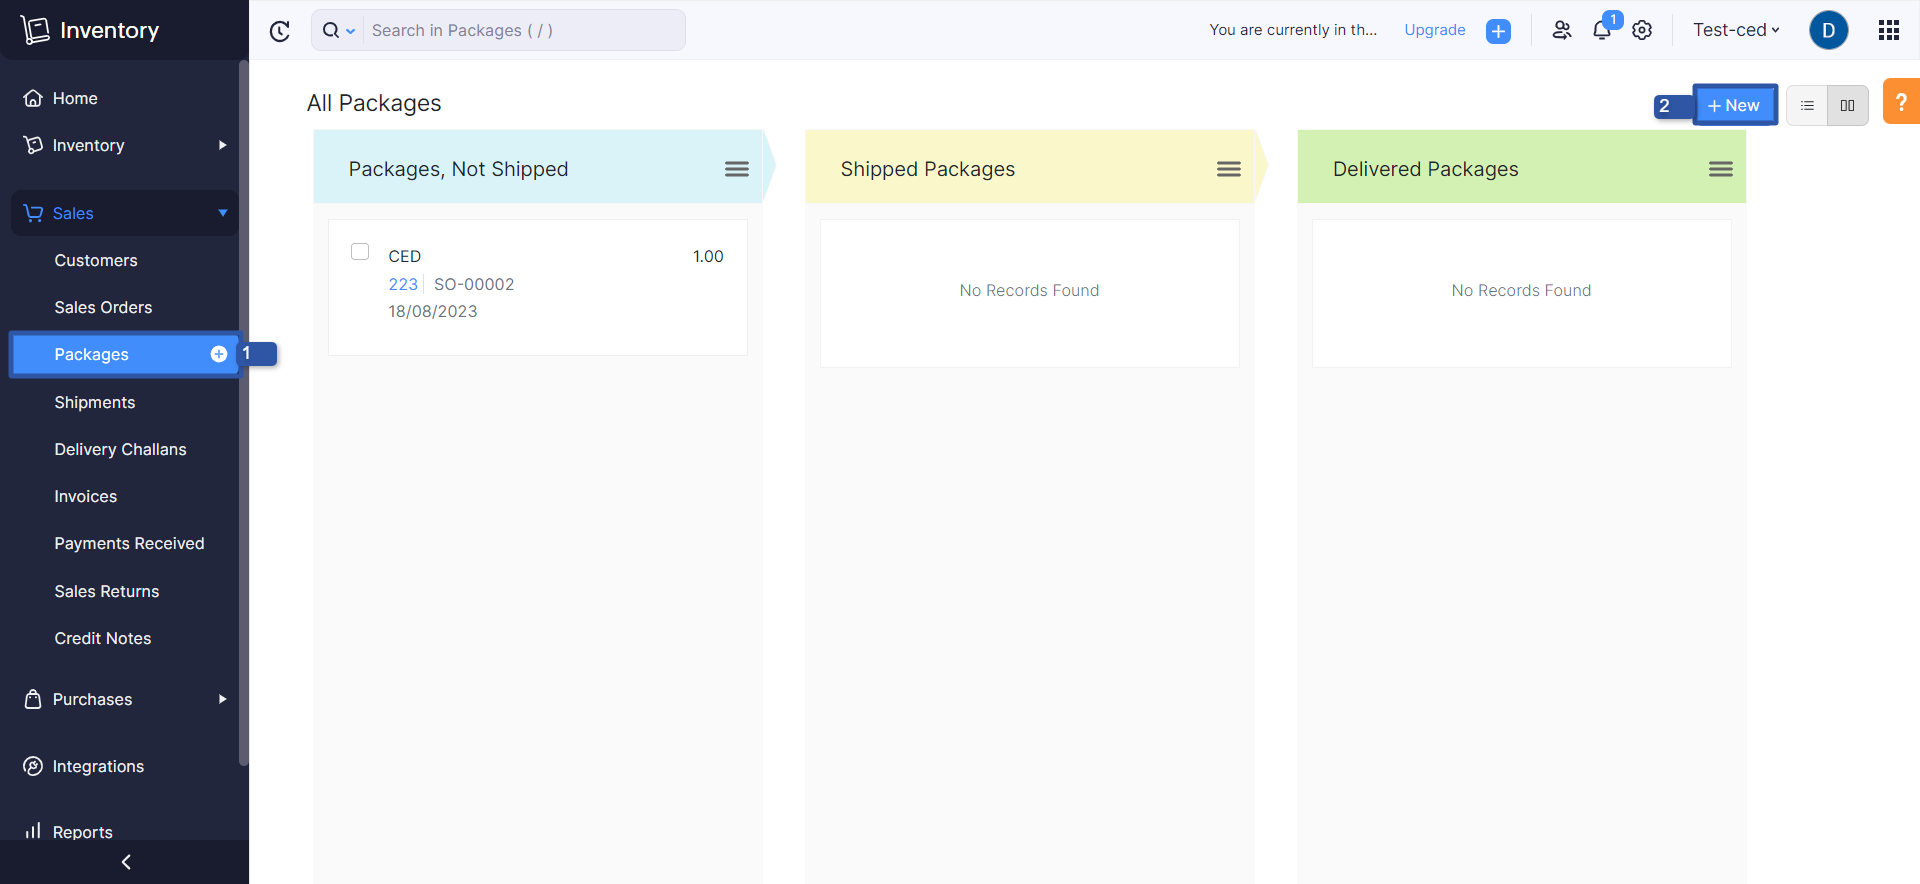
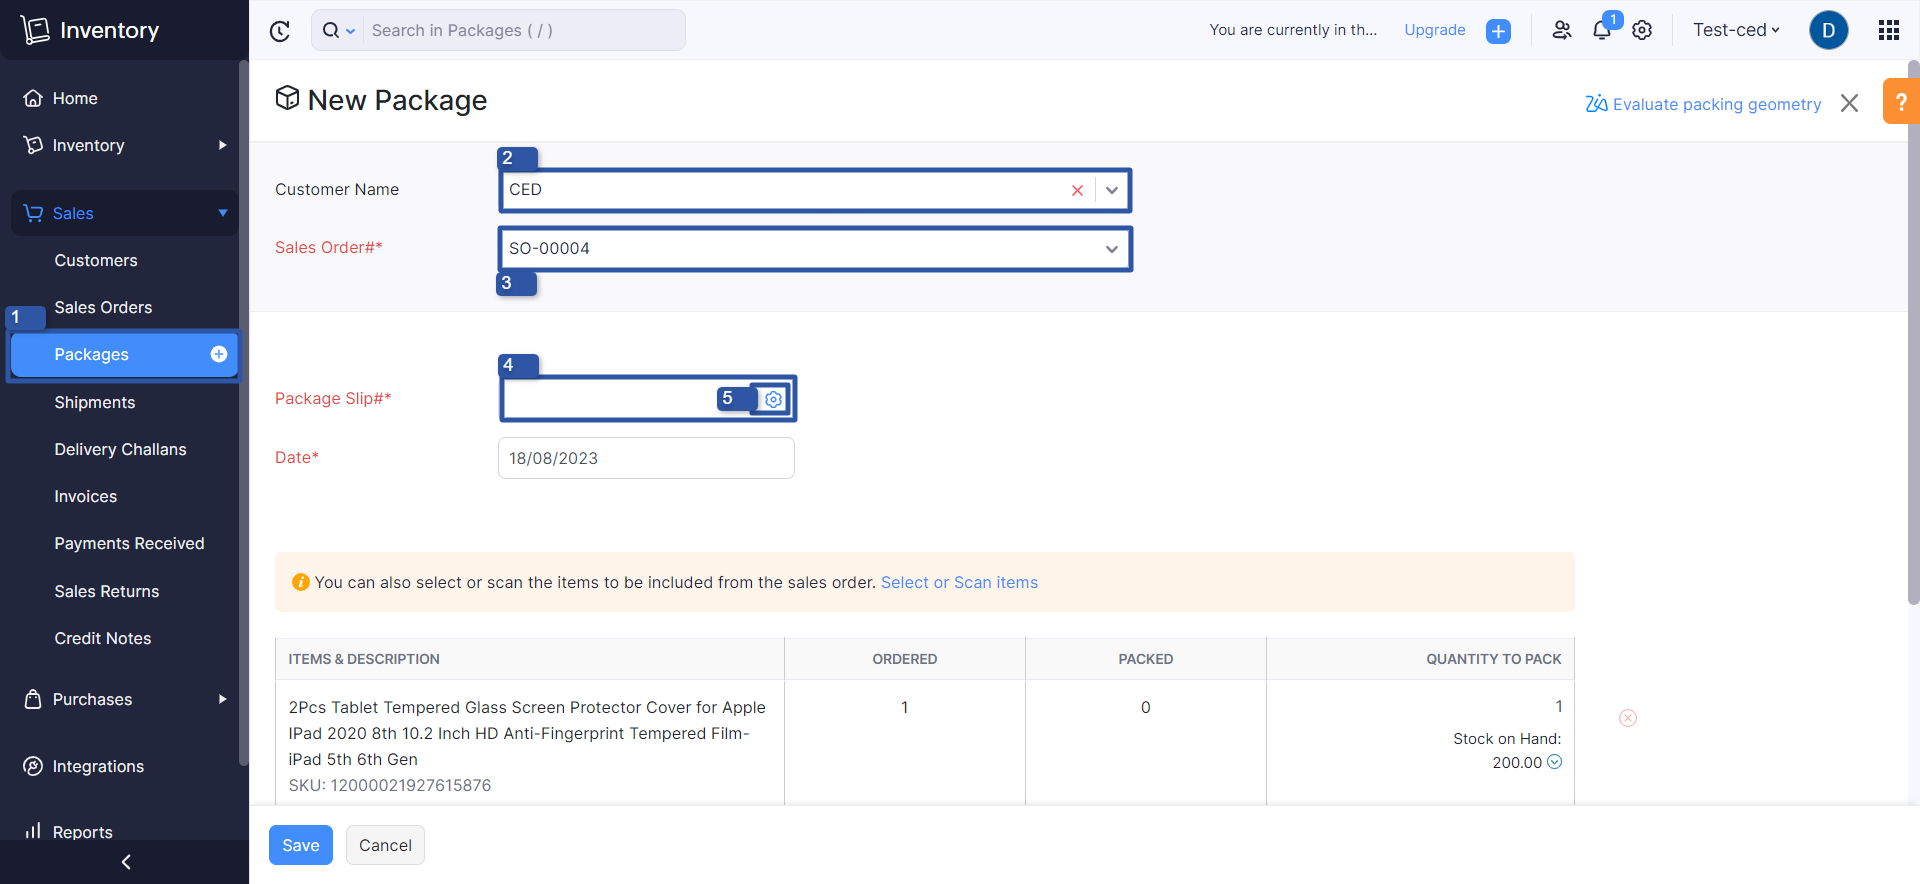
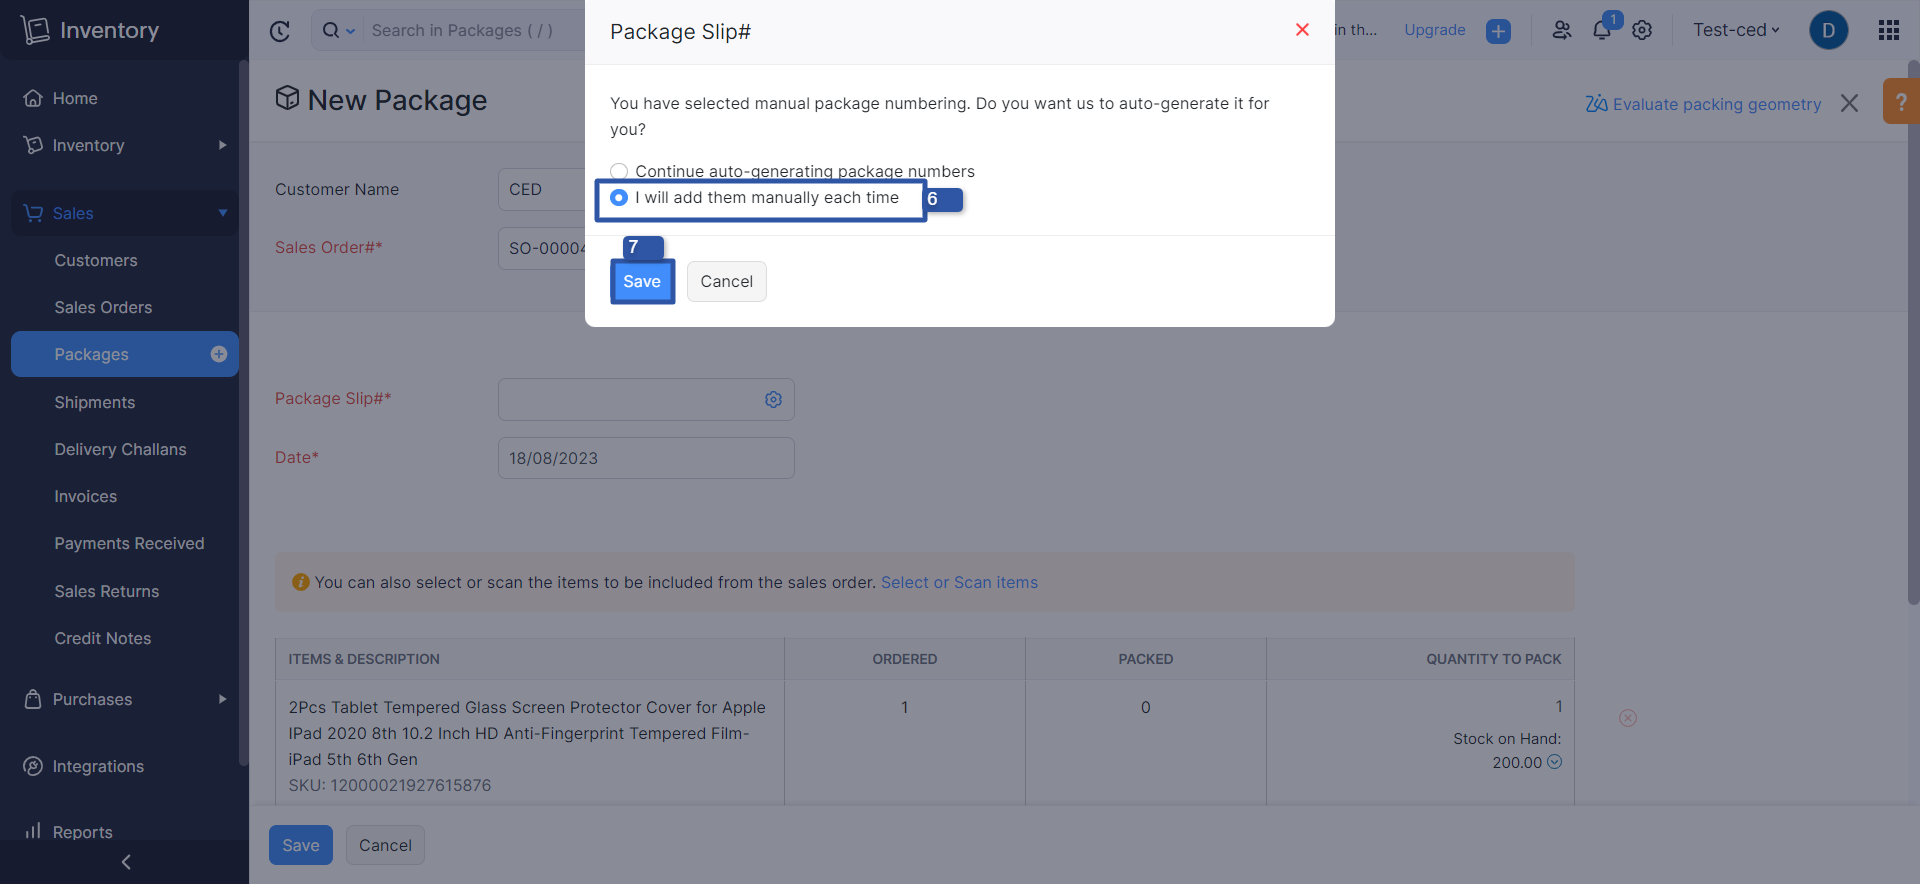
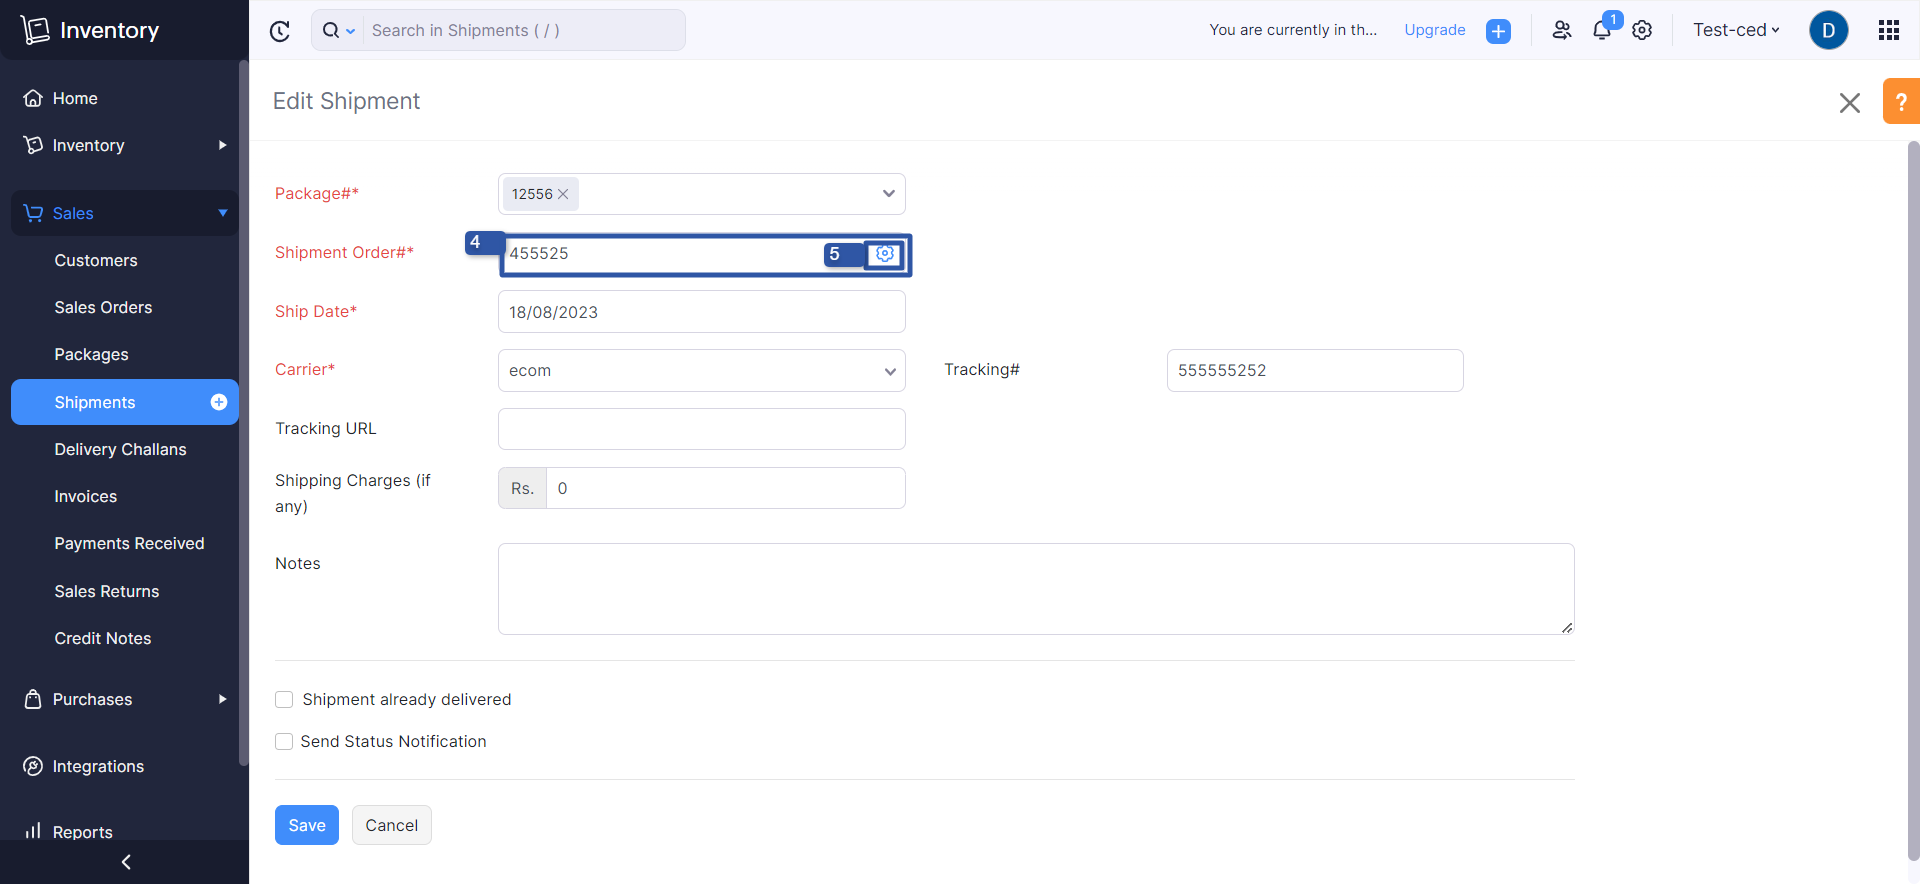
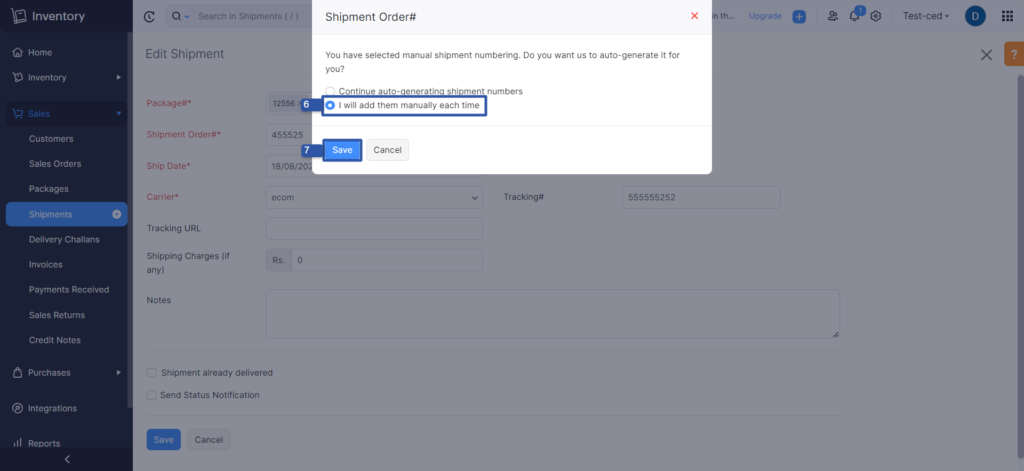
You need to disable auto shipment number generation from your Zoho inventory account.
