- Overview
- How To Install the Wish Marketplace Integration App
- Wish Configuration Setup
- Product Section
- Upload Product
- Upload Product On Wish
- Disable Products On Wish
- Enable Product On Wish
- Sync With BigCommerce
- Update Shipping On Wish
- Update Inventory On Wish
- Update Status From Wish
- Update Price On Wish
- Delete Product From Wish
- Tag Brands In Your Products
- Sync Modifier
- Sync Products With BigCommerce
- Filter Product Options
- More Actions
- Shipping Template
- Product Settings
- Wish Feed
- Import Products
- Upload Product
- Wish Products
- Manage Ads
- CSV Actions
- Order Section
- Tickets
- Infractions
- Penalty
- Settings

3.2.Step 2: Import Products ↑ Back to Top
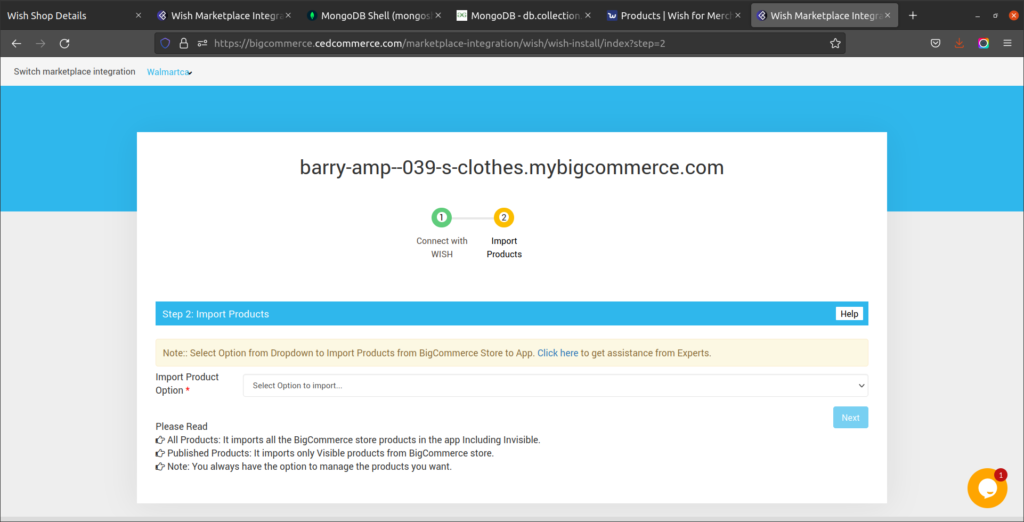
After the API authentication step, it’s time to Import Products, which is the second and last step of the configuration process. The import products page appears, as shown in the following image:

How do import products?
To start with the import procedure, you need to select one of three options from the drop-down menu, as shown by the arrow in the above image.
The dropdown provides you with two options:
All Products:
If you want to import all the existing products from BigCommerce to the app.
Published Products:
When you want to import only the published products available on your BigCommerce store to the app, then you select this option. All published means the products live at BigCommerce stores and are not hidden by the admin.
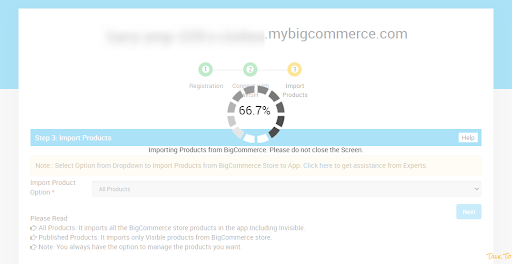
Once you choose your desired option, your BigCommerce products will start importing from your store to the app. The processing is shown in the following image:

Once you are done with the importing process, click on “Next” and you will be redirected to the Admin Panel (dashboard) of the Wish Marketplace Integration App which will look like as shown below:
And when you reach the Dashboard of the app, you complete the Wish App Configuration process.


