
How to Configure your app to begin selling on Facebook and Instagram
The Onboarding process is sub-divided into three steps:
- Account Connection
- Product Catalog
- Choose Plan
Step 1: Account Connection
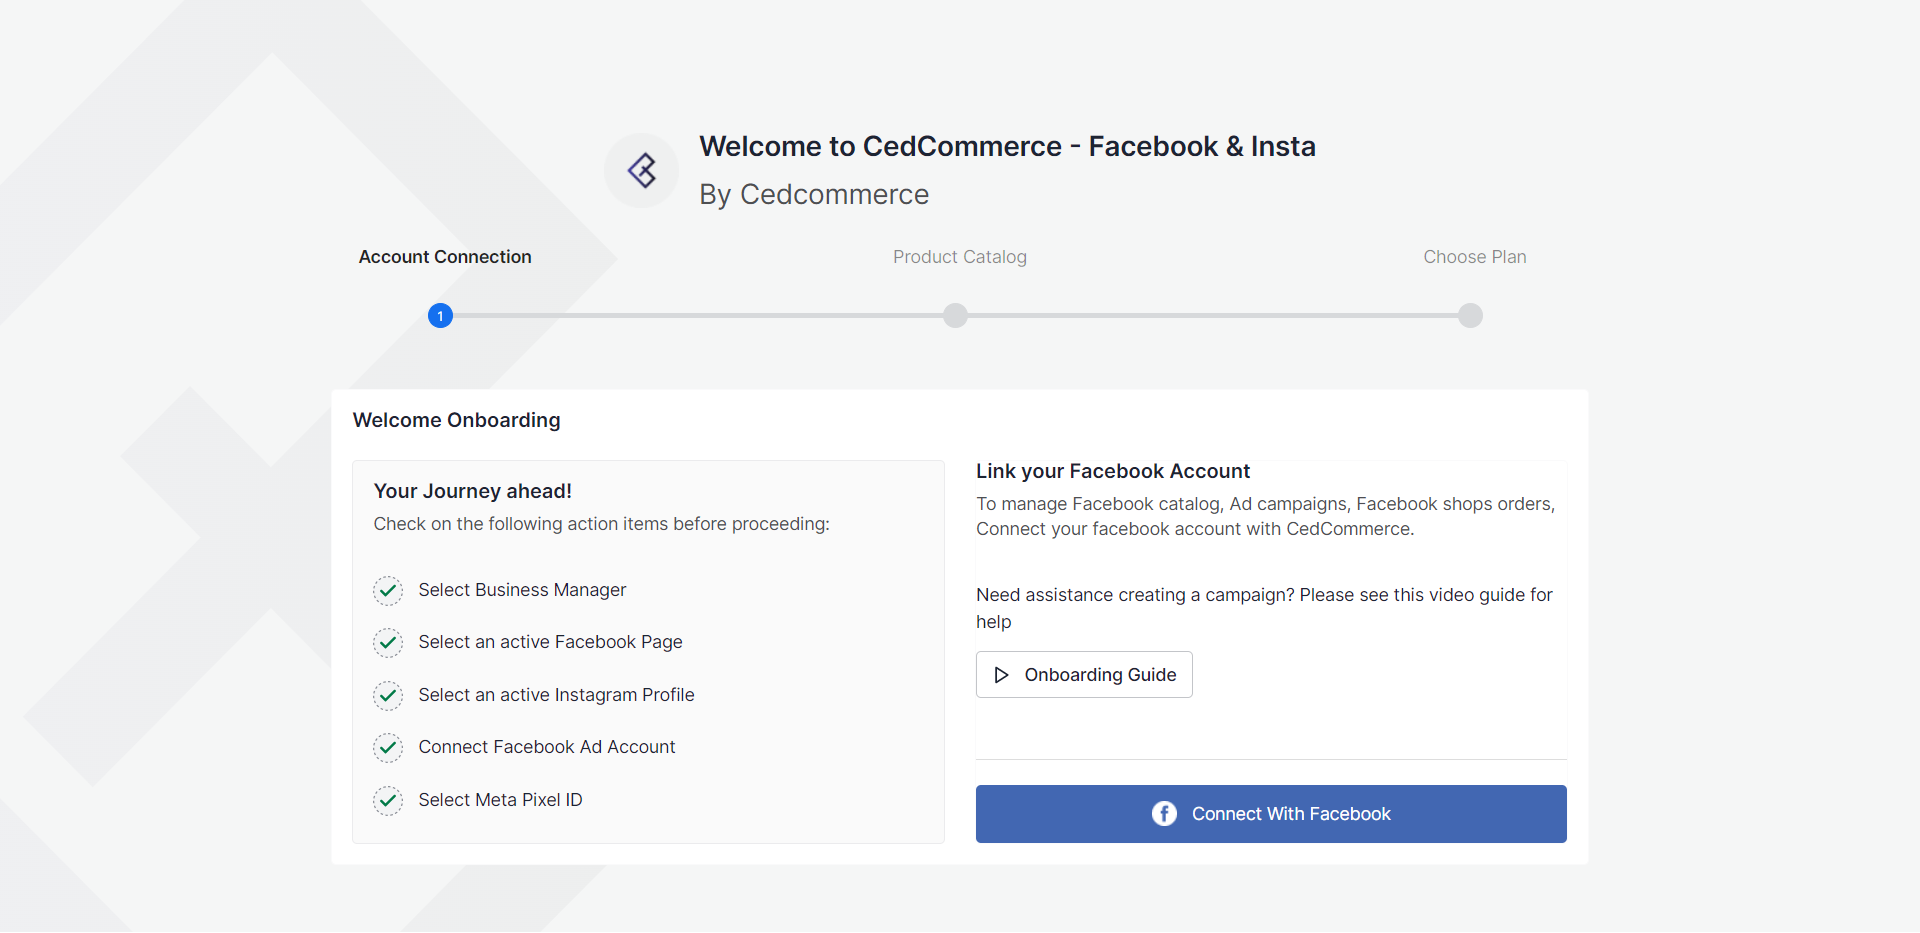
- If you have an existing Facebook account, it will show up as you open the App.
- Click the “Connect with Facebook” button. The page will connect to your existing Facebook Account and redirect back to the App.
- When you click on the option of ‘Connect with Facebook, you will be redirected to Facebook Business Extension (FBE).
- From there, you can set up your Business Manager account, select your Facebook Page, select an Ad account, and Meta Pixel. You can also add your Instagram Business Profile.
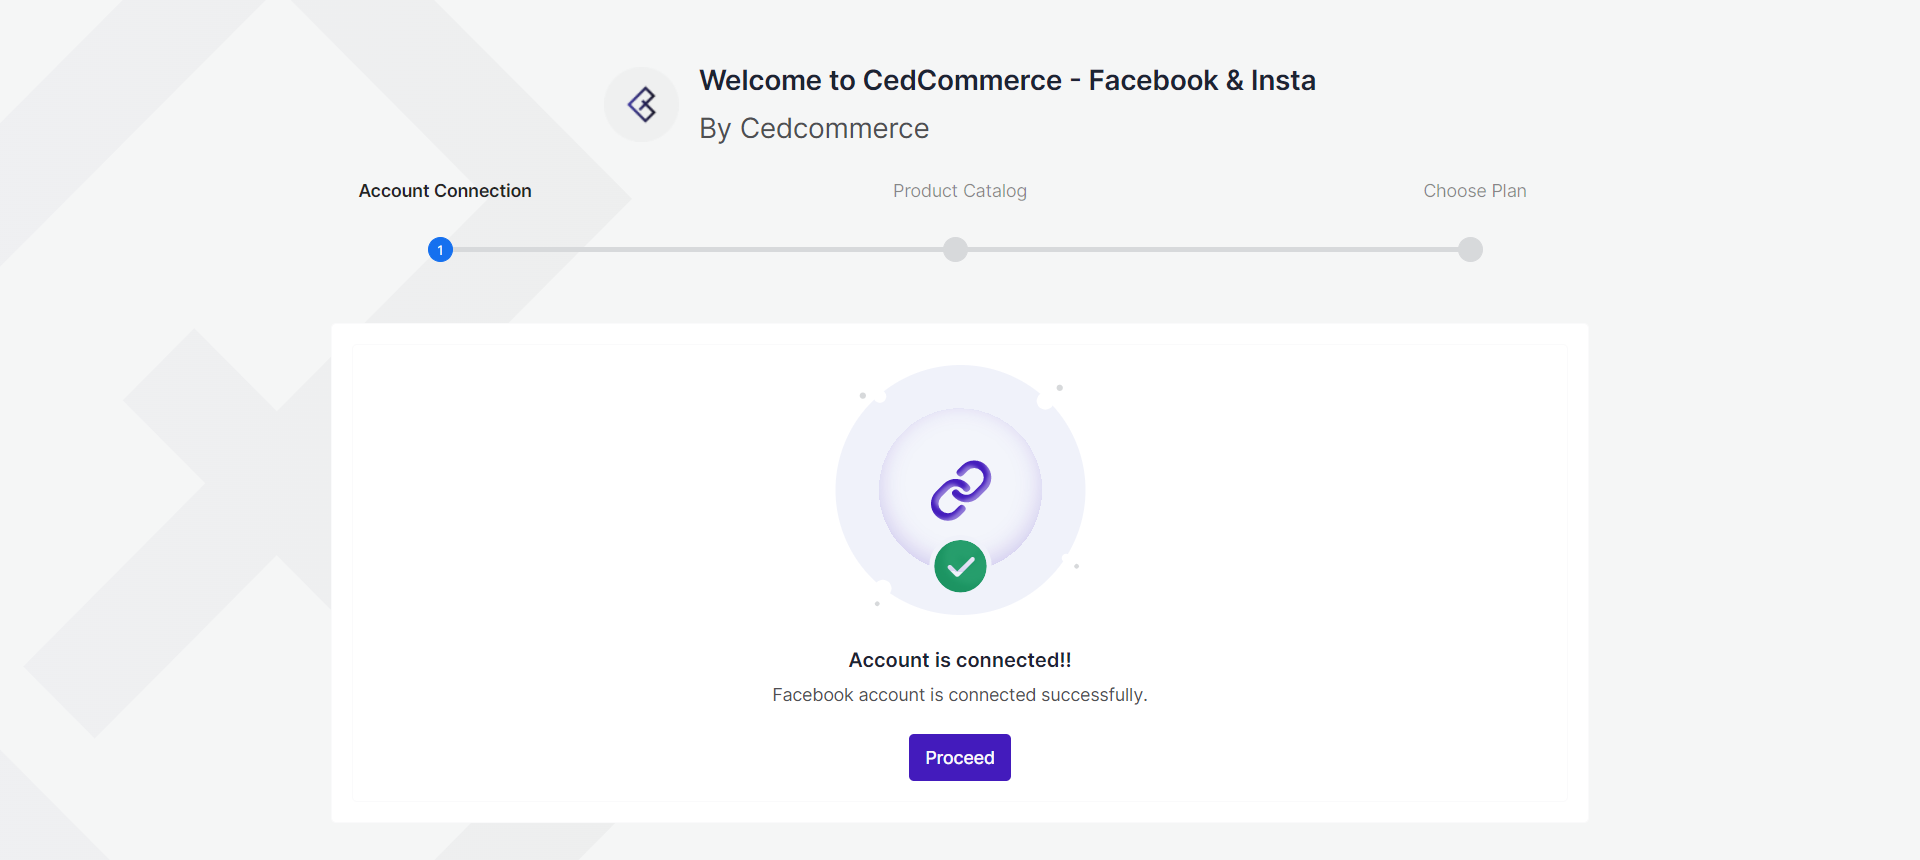
- Once you connect and provide the permissions to CedCommerce; you will be redirected to CedCommerce: Facebook & Insta app.
- Now that you have successfully connected your account, the next step is importing your product catalog.
Step 2: Product Catalog
- When you click on the “Proceed” button, you will be taken to the Product Catalog window. From here, you can either choose to select an existing product catalog, or create a new one.
- Select a Product Catalog from the drop-down. Or click on “Create New Catalog”. If you click on Create New Catalog, a pop-up box will appear. Enter the name of the product catalog, and click on “Create”. Once you have selected the Product Catalog, click on Next.
- You will be directed to the Choose Plan page.
Step 3: Choose Plan
The final step to onboarding the app is to select your subscription plan. Please note that each plan has its own specific advantages.

- Select the plan that best suits your business and click on Finish.
- You will be redirected to the dashboard of the app, as you have successfully onboarded the CedCommerce: Facebook and Insta App.
×


