
Registration and Sears Configuration Setup
Once the Sears Marketplace Integration app is successfully installed in the Shopify store and the API credentials are received from the Sears Seller Account, the admin has to follow the Registration process and set up the configuration settings to establish the connection between the Shopify store and sears.com.
To follow the registration process and set up the configuration settings
- Go to the Shopify store admin panel.
- In the left navigation panel, click the Apps link.
The page appears as shown in the following figure:
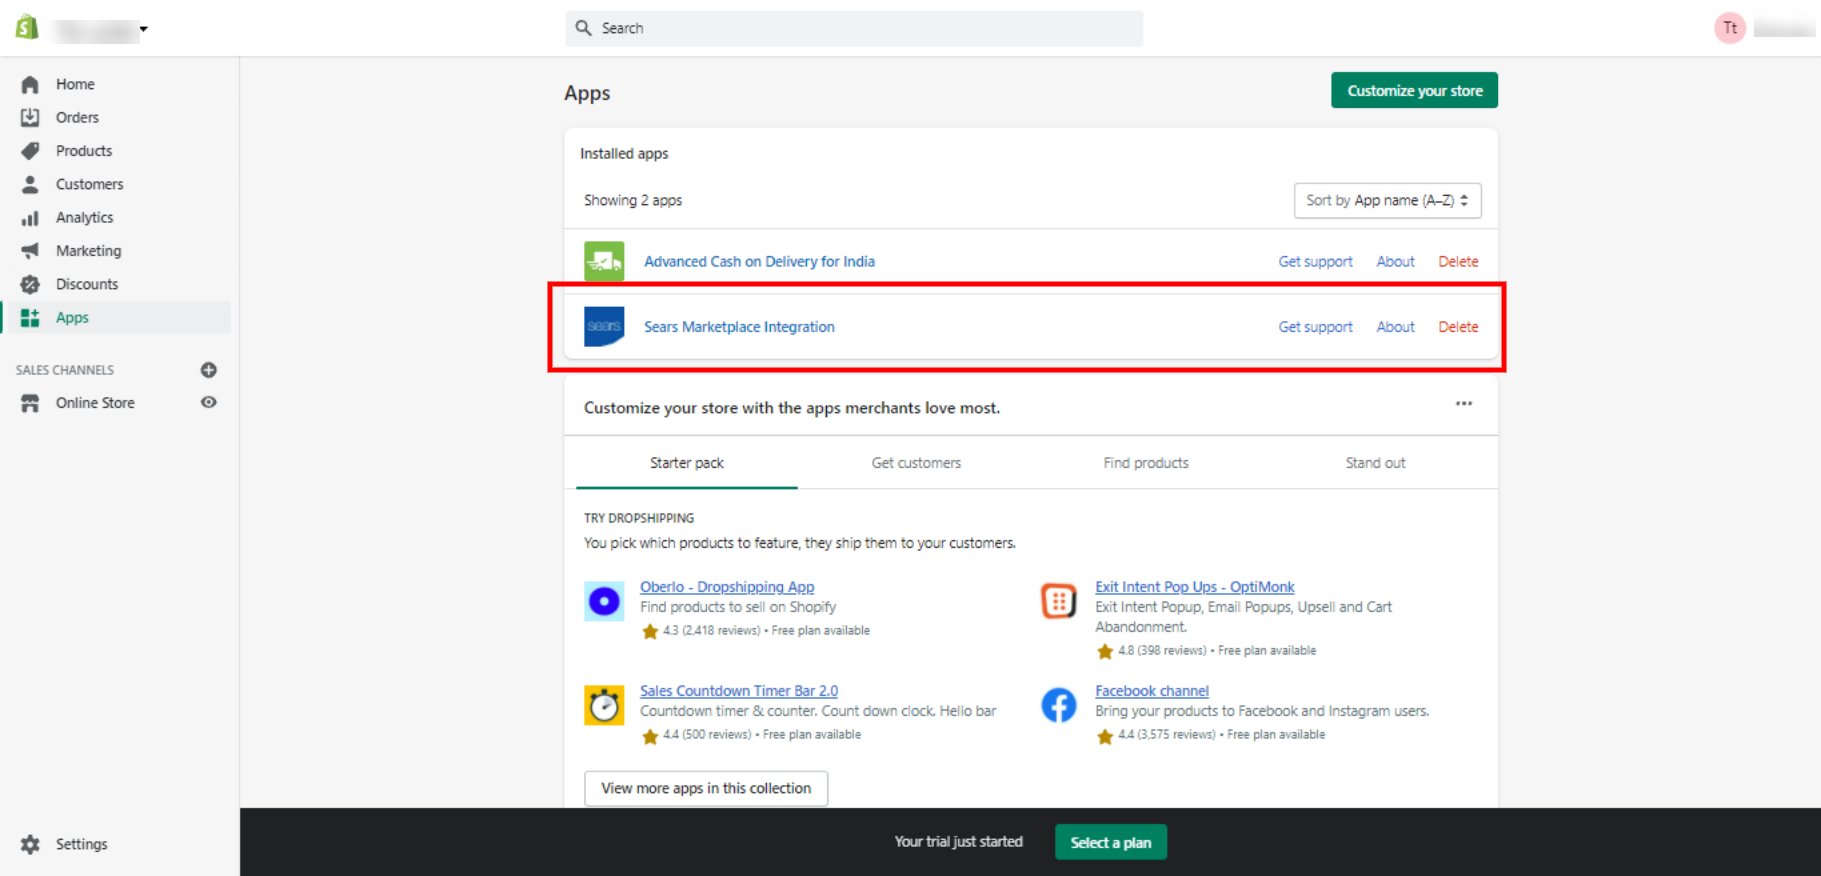
- In the right panel, click the Sears Marketplace – Integration app link.
The Step 1: Enter Sears Api page appears as shown in the following figure:
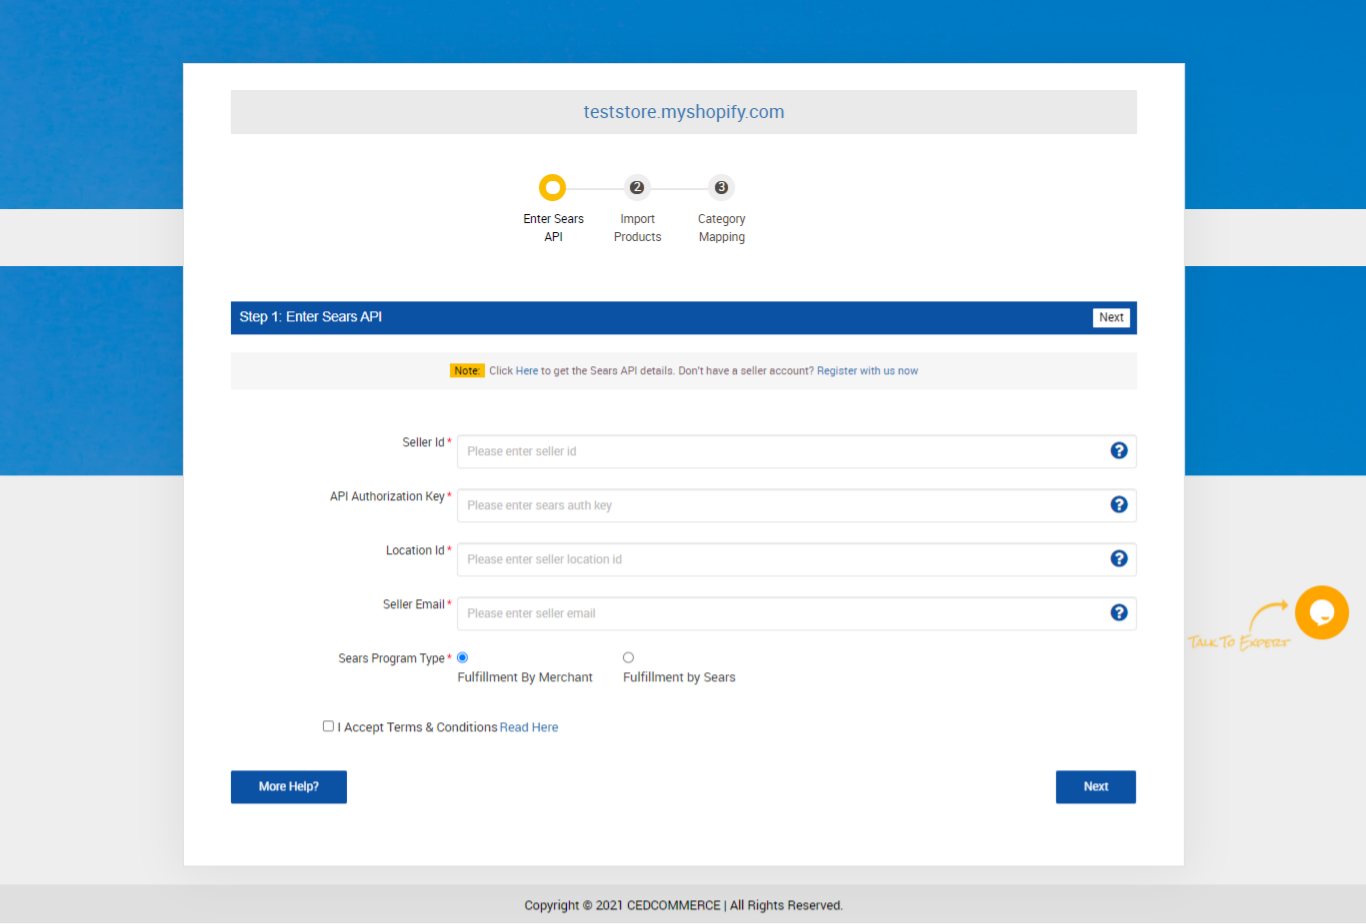
- In Seller Id box, paste the Seller Id copied from the Sears Seller account.
- In the API Authorization Key box, paste the API Authorization Key copied from the Sears Seller account.
- In the Location Id box, paste the Fulfillment Locations Id copied from the Sears Seller account.
- In the Seller Email box, enter the email id of the seller.
- In the Order Management field, click to select the required option.
- Click the Next button.
The Step 2: Import Products page appears as shown in the following figure:
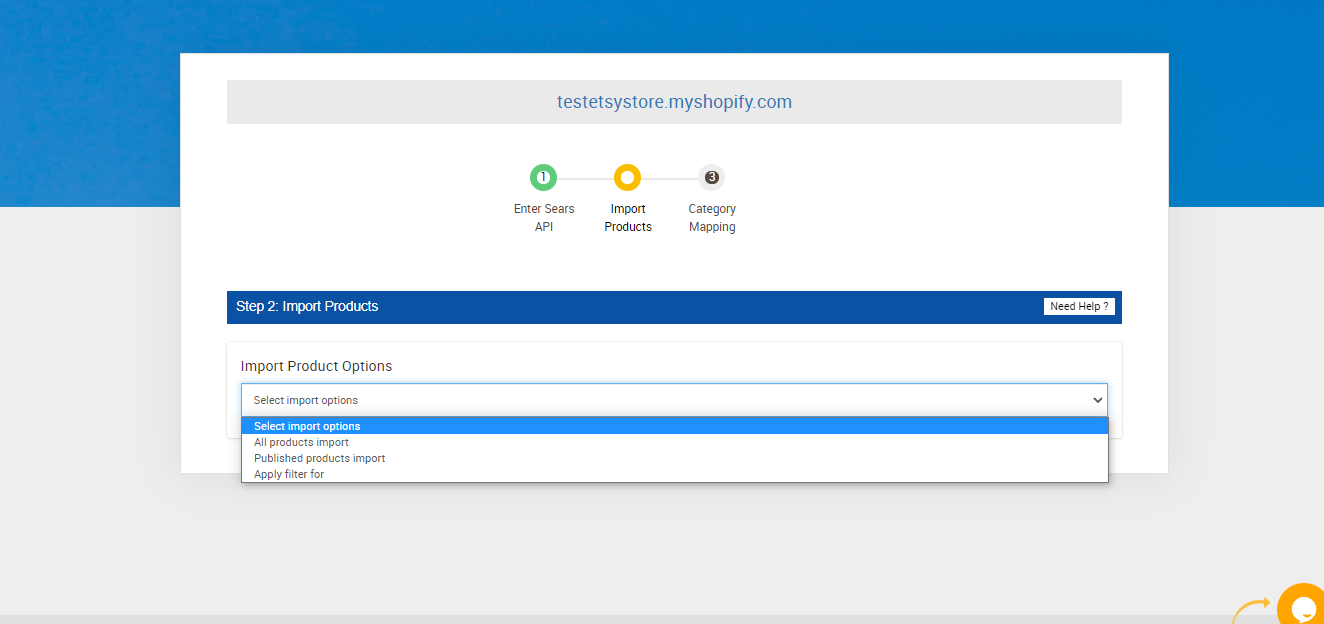
- In the Import Product Options list, select one of the following options:
-
- All products: It enables the store owners to import all the Shopify store products in the app.
- Published Products: It enables the store owners to import only those products which are available at the Shopify store front-end.
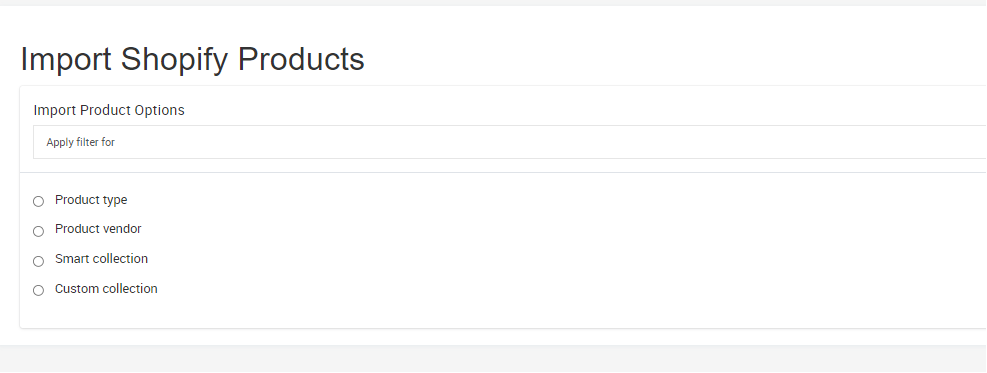
- Apply Filter For: It enables the store owners to import only those products which they want to upload from their Shopify store to the app. When selecting Apply filter for, you’ll be presented with the following options as shown in the image below
-
- The Step 3: Category Mapping page appears as shown in the following figure:
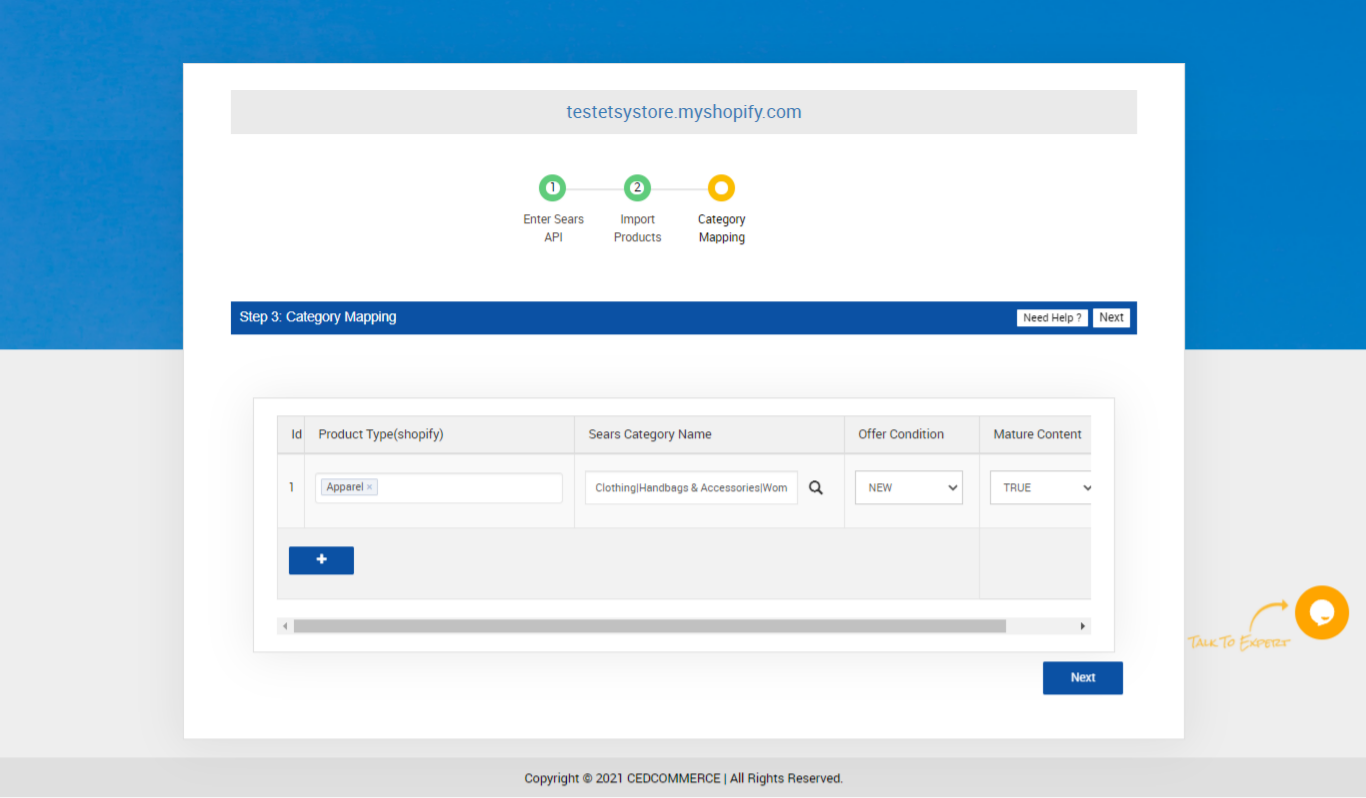
- Scroll down to the required Product Type.
- In the Sears Category Name column of the respective Product Type, enter the initial of the category to search, and then click the Search button.
A category list appears as shown in the figure. - In the Mature Content list of the respective Product Type, select the required option.
- In the Offer – Condition list of the respective Product Type, select the required option.
- Click the Next button.
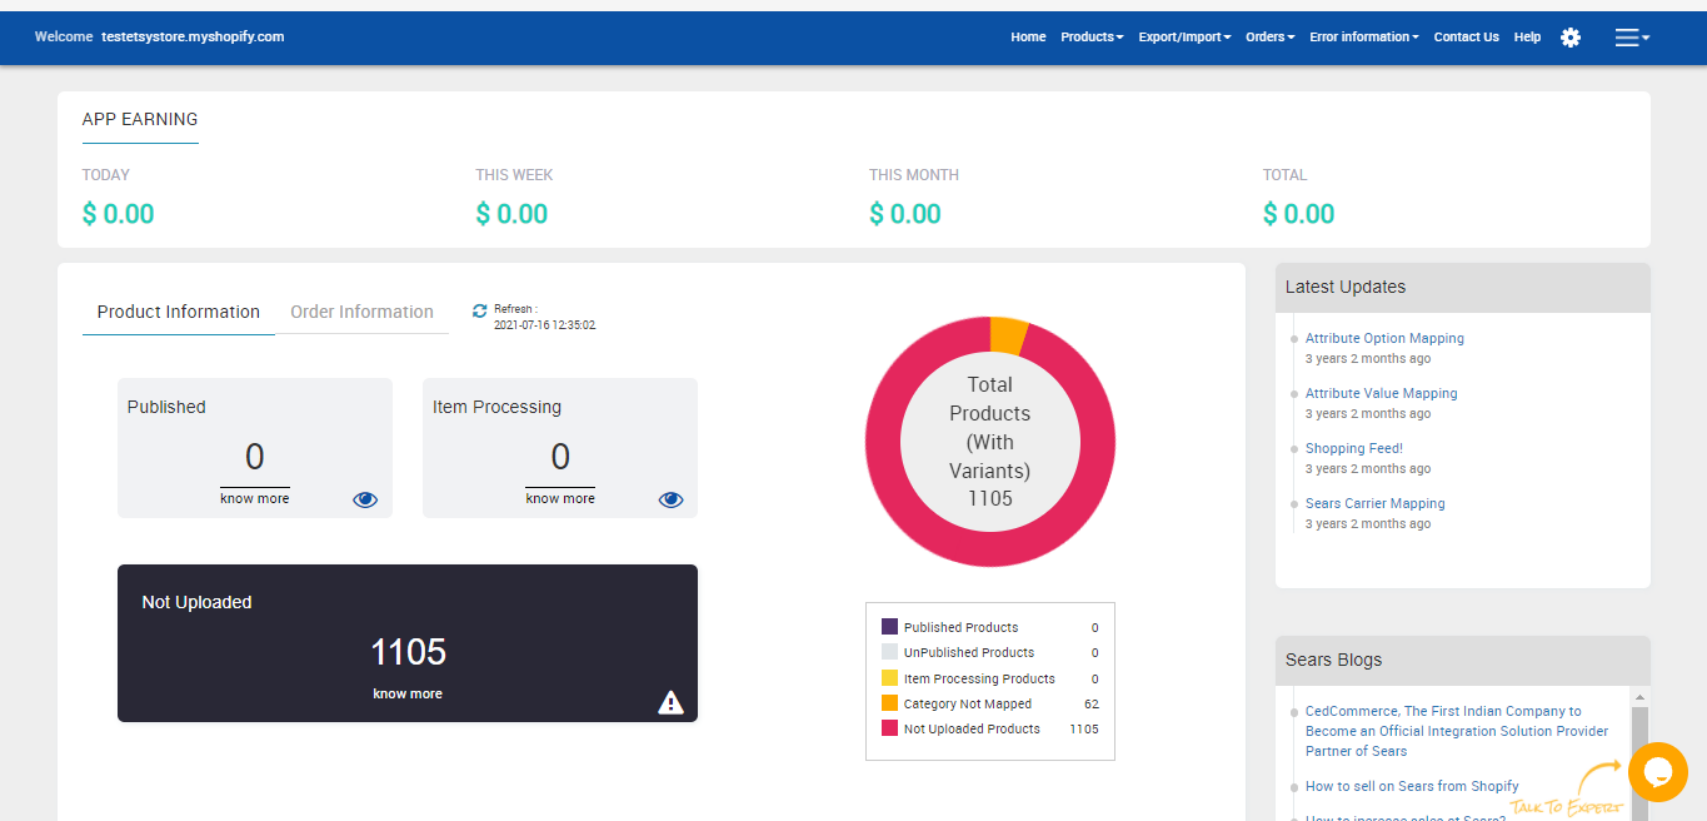
The Sears Marketplace Integration App Admin panel appears as shown in the following figure:
×


