4.1.Create a Vendor Account
Users can create a vendor account from the Sell link in the storefront header.

This link will take users to a vendor landing page or a simple login page depending on the configurations in CED Marketplace > Vendor Configuration > Landing Page > Design. If Design is set to Advance a landing page is displayed otherwise a simple vendor login page is displayed.

Click on the SignUp link in the header to proceed with vendor registration.
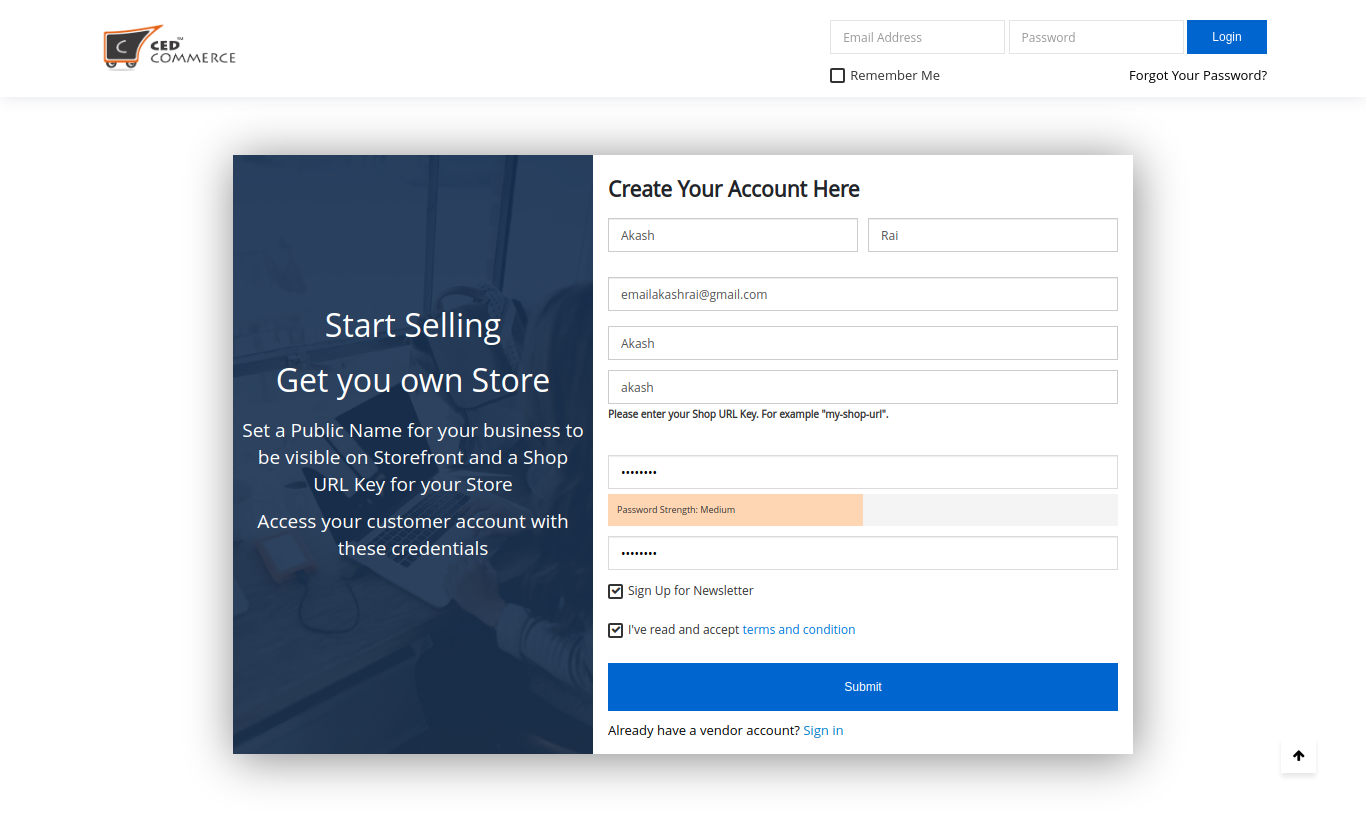
Vendors have to provide the basic information for Vendor account creation like Name, email ID, and password. Two important fields that are required for the creation of any vendor account are Public Name and Shop URL. Public Name is any name that the vendor wants to appear on the storefront and in order details. Shop URL is the URL key that will be used to create a unique URL for the vendor’s shop page. For example, the URL key in the above screenshot will create a vendor shop with URL www.example.com/vendor_shop/akash.html.
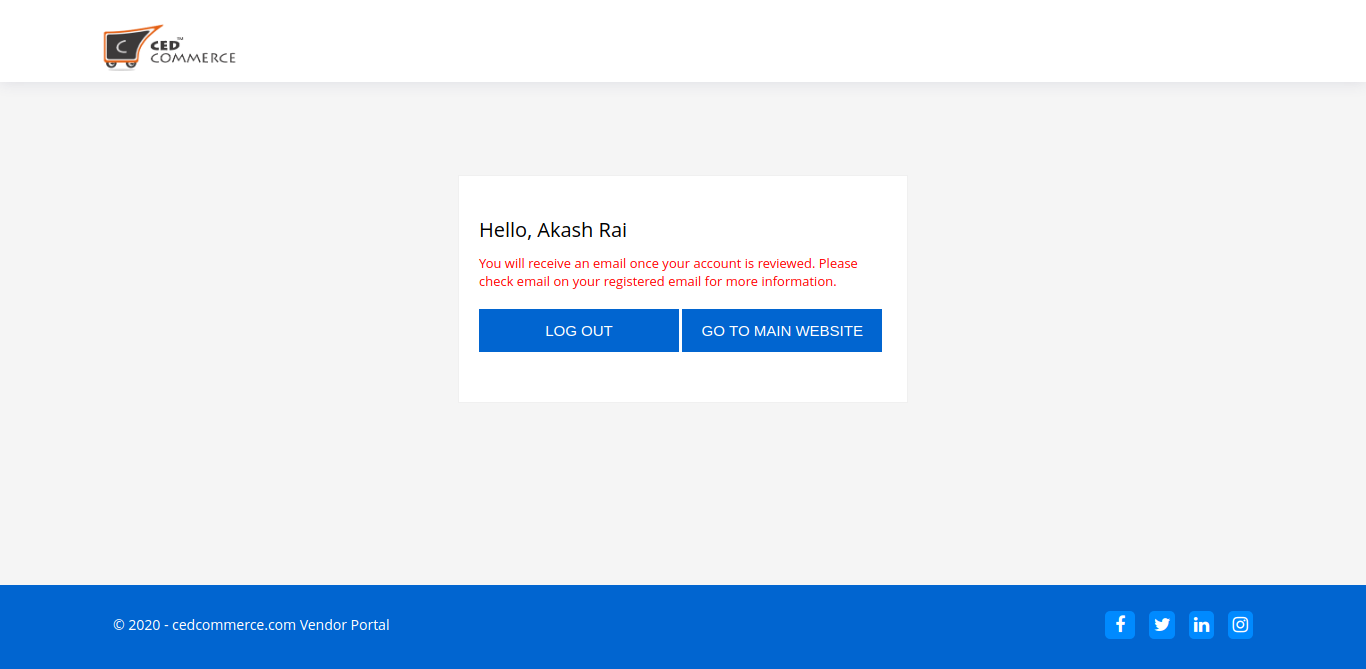
If the Admin Approval setting for new vendor accounts is enabled then the vendor sees this page which states that their account is under review and they should wait for confirmation.
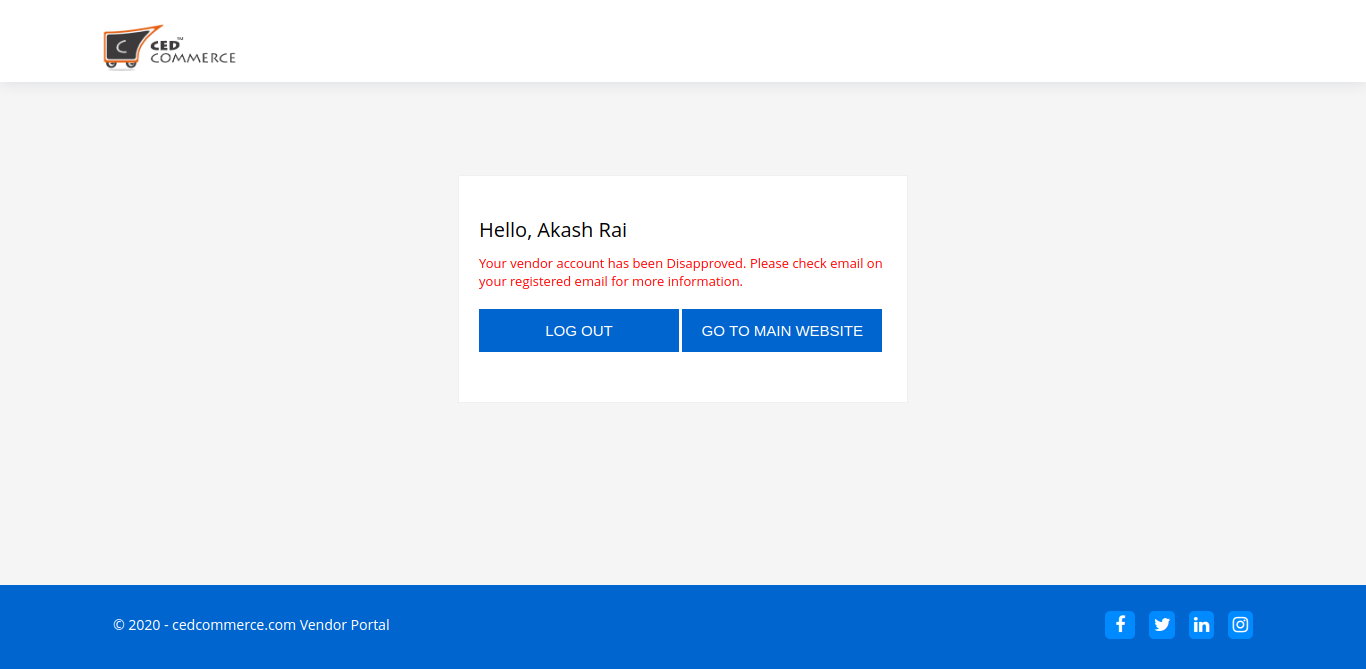
And if the Admin Approval setting for new vendor accounts is disabled or if the admin has approved the account vendor has now to access the Vendor Panel. In case the Admin has disapproved this vendor account they see this page below.
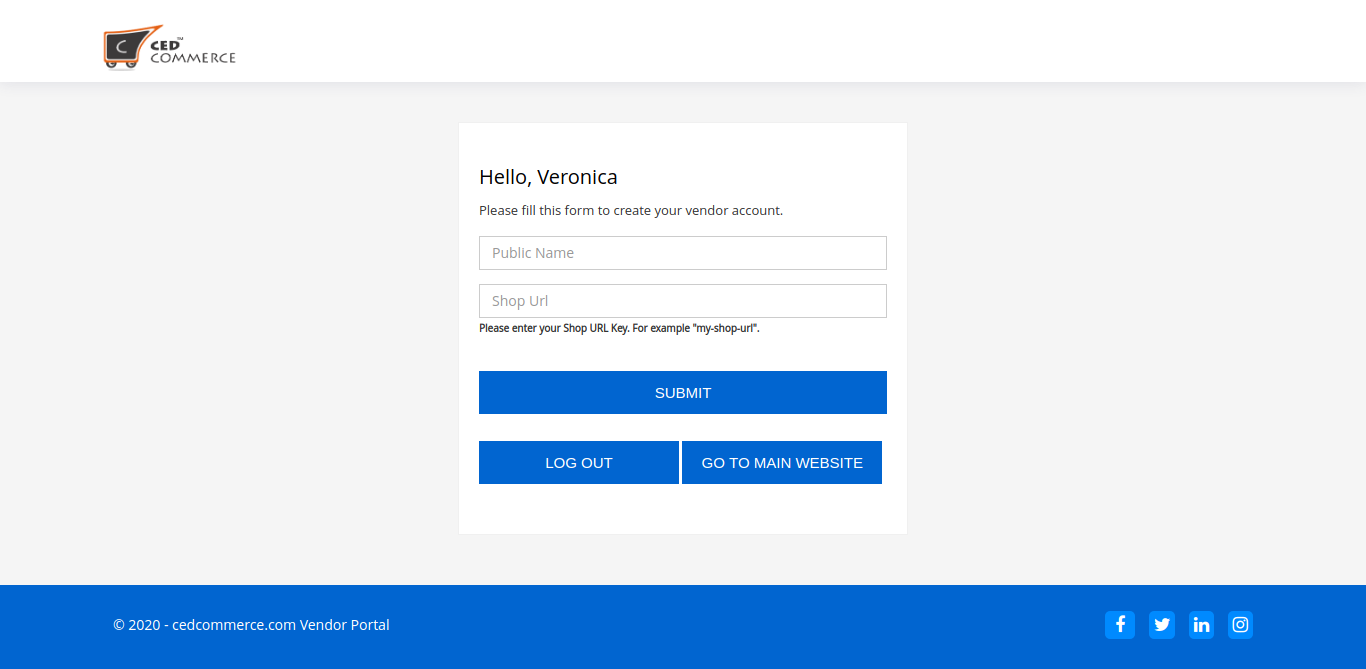
When a registered customer tries to sign in as a vendor they see this form below for creating their vendor account.